
These homemade, metallic-painted acorn Christmas ornaments are so bright and pretty! They’re such a fun DIY craft project for the whole family, and so simple too! All you need are a few big acorns, a paintbrush, string, a hot glue gun and some pretty metallic paints!

My Christmas tree is a big DIY project that starts in November every year. I like to cover it with dry roses and Autumn flowers like cockscomb and bright hydrangea, so I pick them up at my farmer’s market when they’re in season, and start drying them in late Fall.
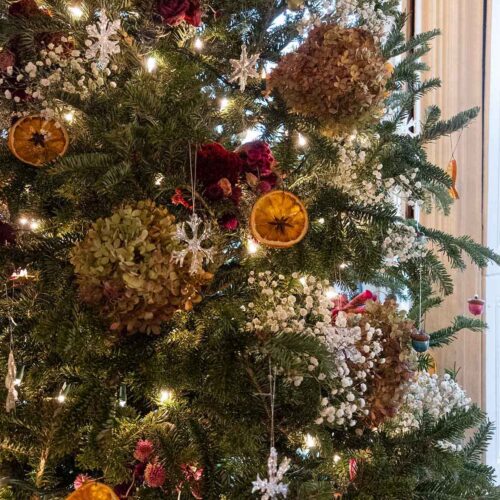
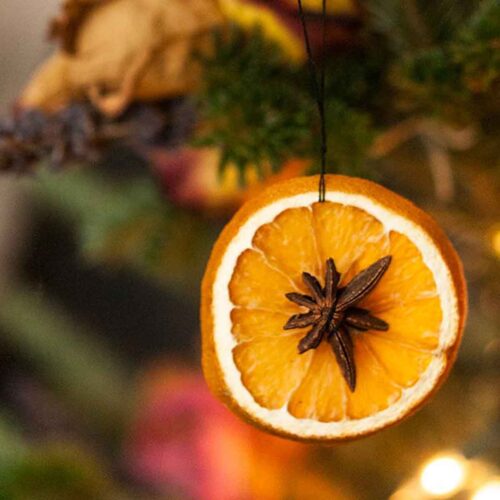
I also cover my tree in natural ornaments like dried orange slices, and hang raw cotton garland from my mantle. This year, I’m incorporating these precious painted acorns to add a little more color to the tree.
In fact, I’m a huge fan of natural Christmas decorations in general. The only plastic I have on my tree are Christmas lights, so at the end of the season, I like to remove only the lights and a few glass ornaments, then put the whole tree, flowers and all, on the curb and watch my neighbors take bouquets for themselves as they walk by.
It’s usually completely bare by the very next day. This year, they get to take some colorful acorns too!
What You’ll Need
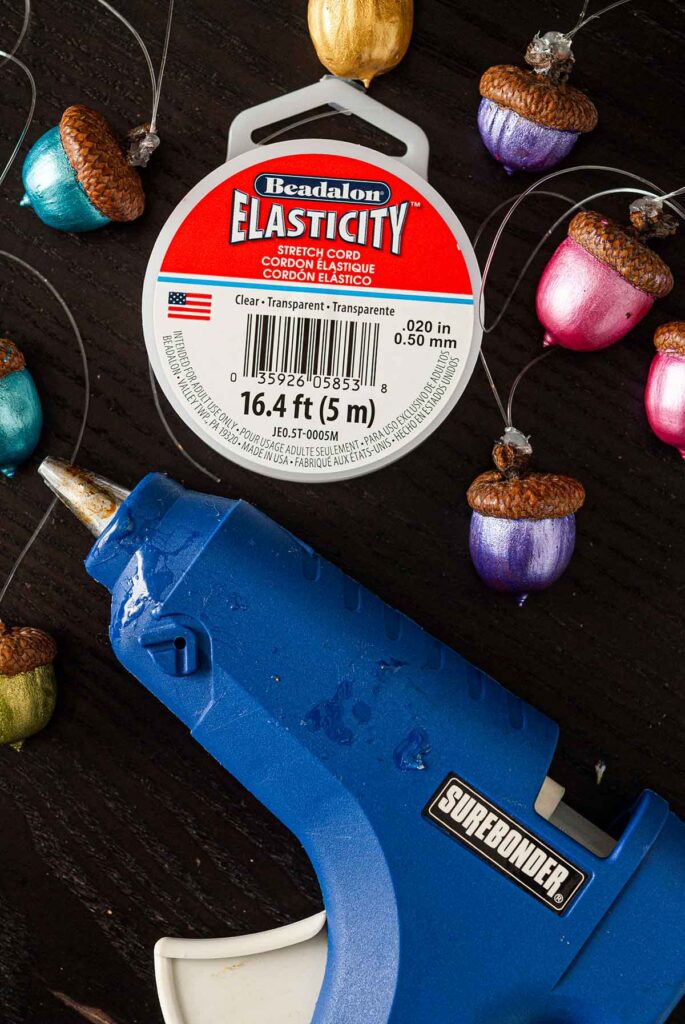
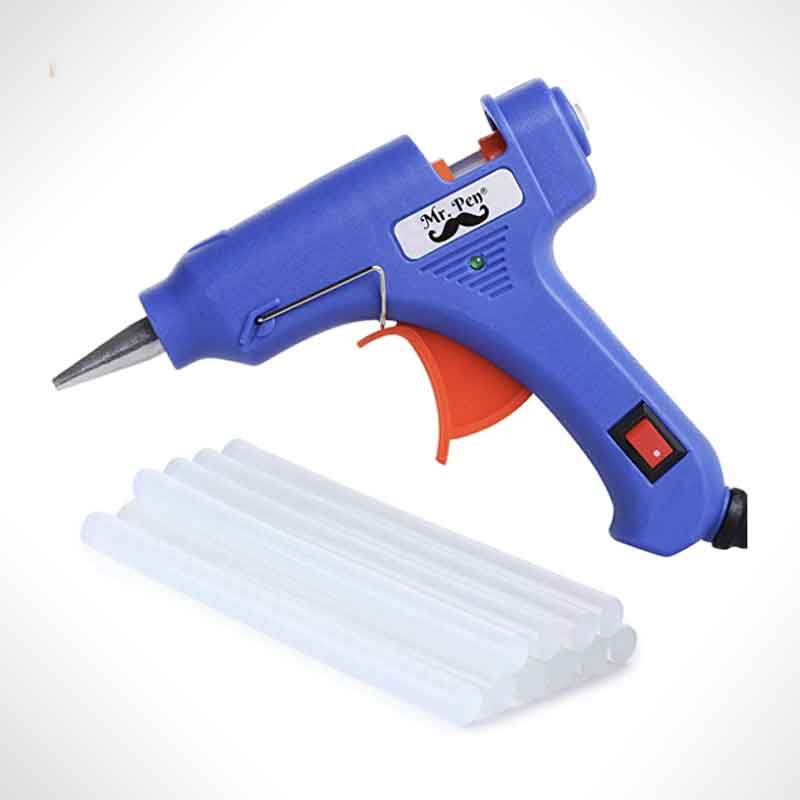
hot glue gun – It’s a lot better than using regular glue. It dries clear and fast, so you don’t have to hold the clear cord to it for long.
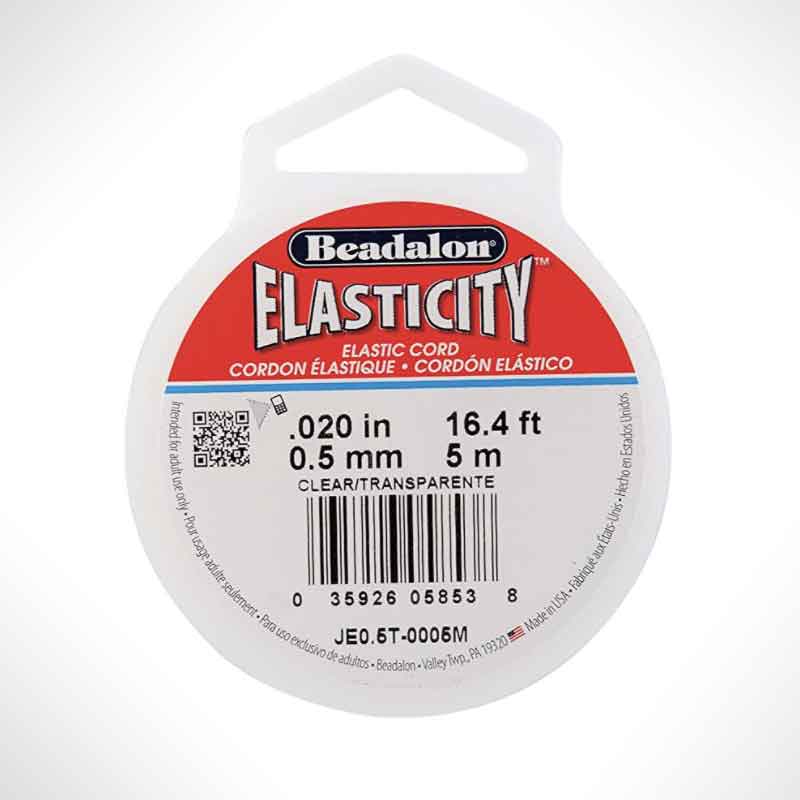
clear elastic cord – You can certainly use string, but I just like that they’re clear and disappear a bit into the Christmas tree.
acorns – The bigger the better.
metallic paints – I used a mix of lovely, water-soluble metallics by Folk Art. Martha Stuart also has some lovely metallics that are nice and bright.
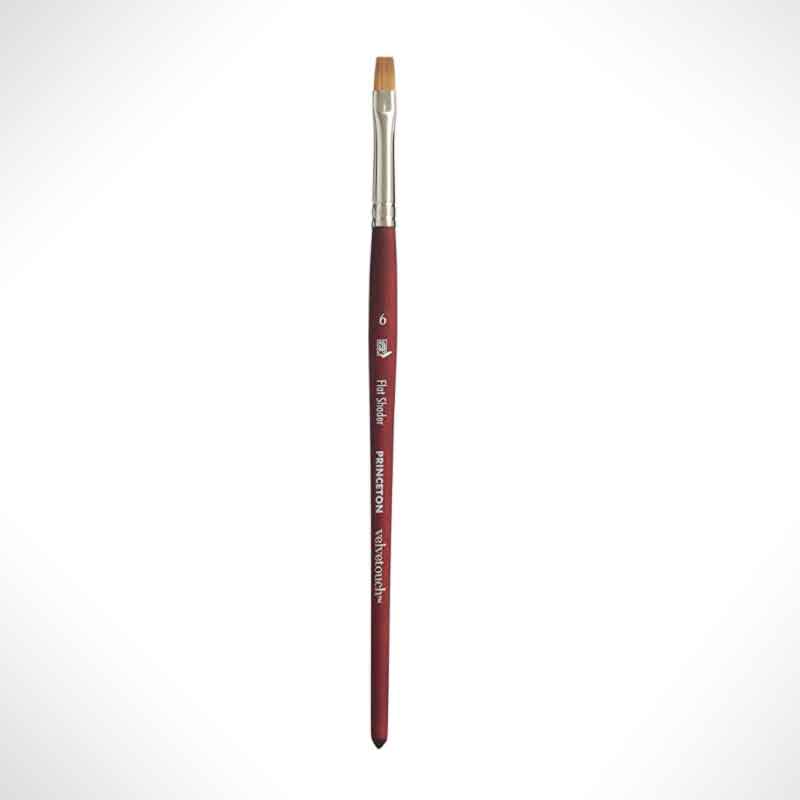
small, flat paintbrush – I used a #6 shader brush with a nice, flat edge which helps to get the paint cleanly under the acorn cap.
Here’s What I Used

How to Make Homemade Painted Acorn Christmas Ornaments – Step by Step
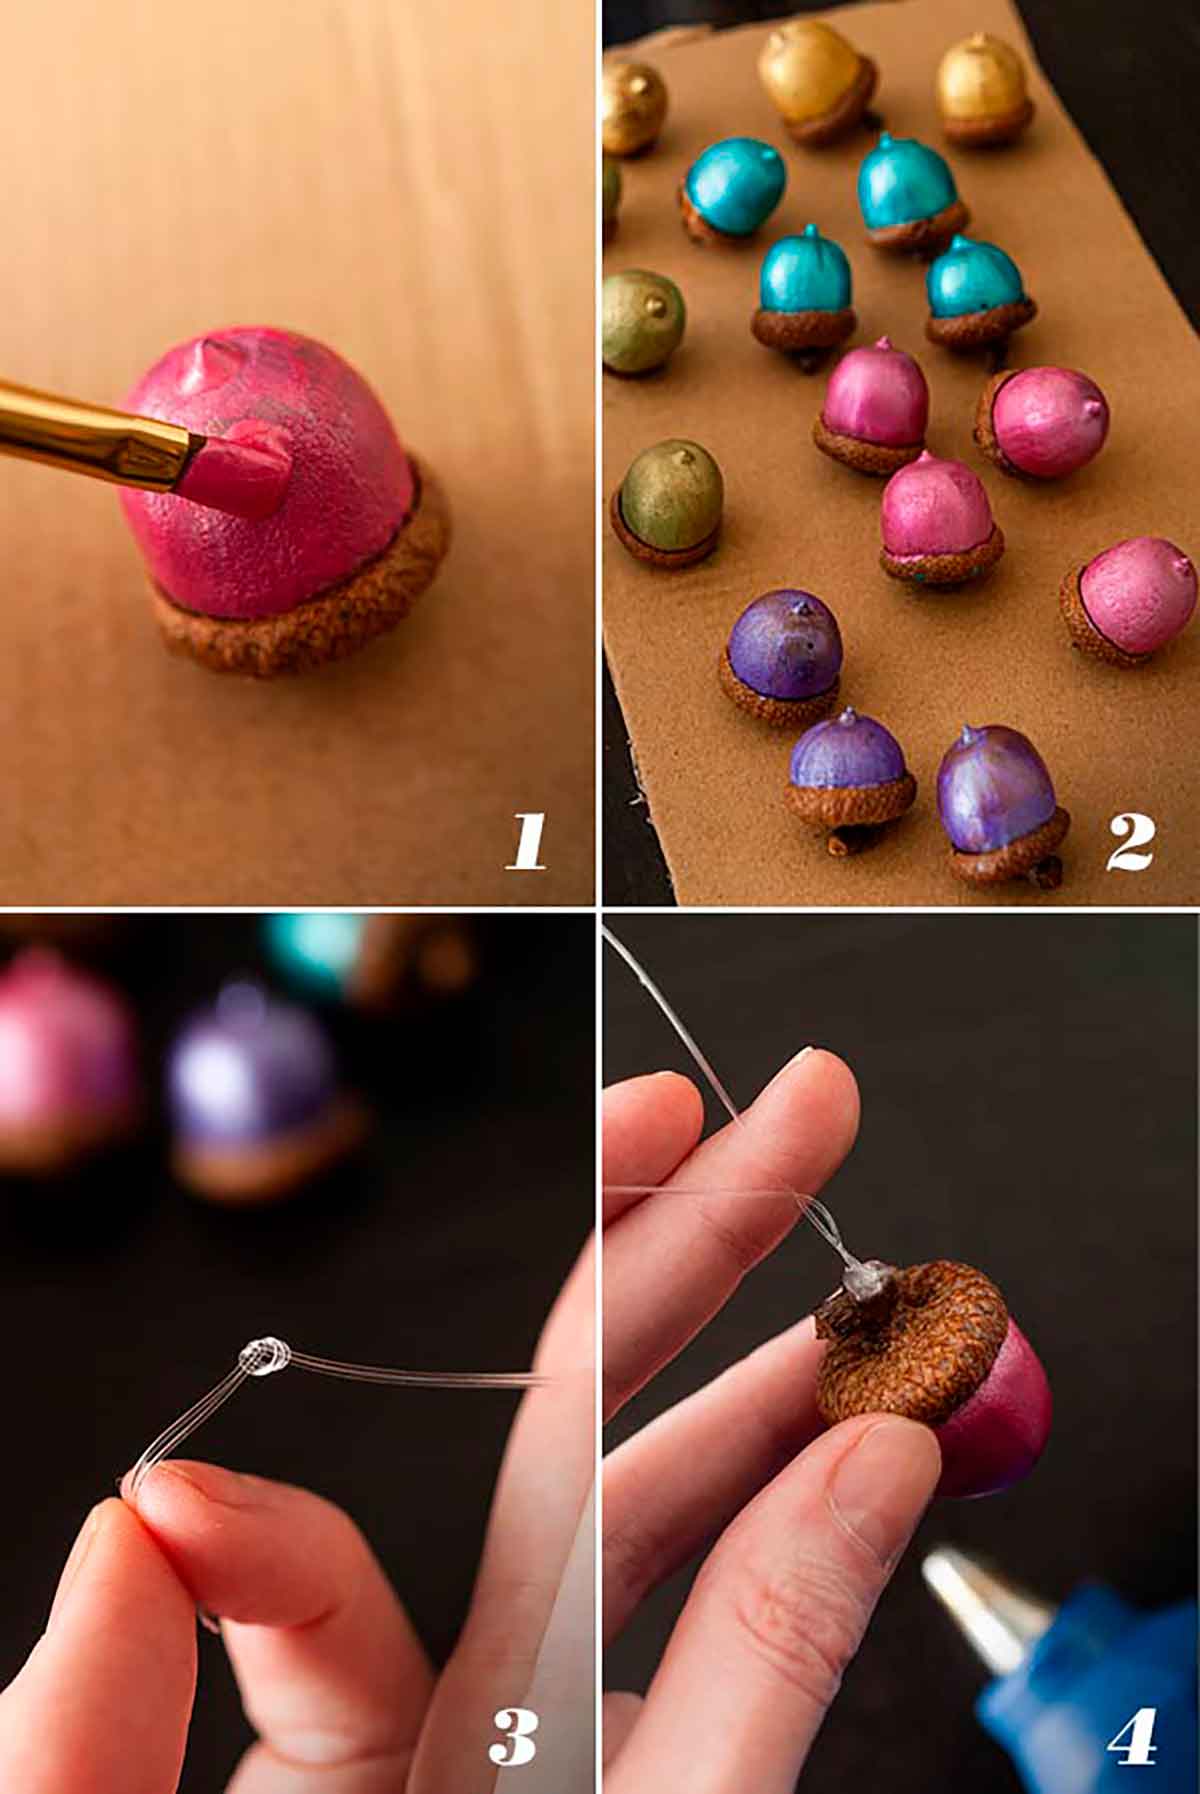
- First, make sure you’ve allowed your acorns to dry for a week in an open container in a dry place. Once ready, simply paint each acorn, avoiding the cap.
- Give each acorn 4 coats each to make them nice and bright. Balancing them on their caps makes it easy to prevent the paint from smudging.
- I used thin, transparent elastic cord, but you can just as easily use thread or string. Make a loop and tie it in a knot.
- Add a single dot of glue to your acorn caps. Gently (and carefully) hold your cord or string to the glue for about 5-10 seconds. That’s all there is to it!

A Few Tips
1. You want to wash and dry your acorns first.
The acorns should be clean and completely dried out, otherwise, the paint may peel. Give them a delicate scrub with water to remove any dirt, then allow them to dry in an uncovered container in a dry place for a week before painting.
2. If you see any worm holes:
You might want to rid the acorns of worms before painting. If you don’t see any wormholes, there’s nothing you need to do. But if you see any little holes, microwave them for 3 seconds before letting them dry for a week. Don’t put them all in at once though. Do a test with one first. Depending on the size and thickness of the acorns, they may pop when microwaved, so just do one first, and see how it goes.
3. If you’re young, make sure you have a grownup help you with the hot glue gun.
It goes without saying, but hot glue guns can give you a pretty bad burn if you’re not careful, so if you’re a tot (or a grown woman who likes to drink prosecco while she crafts, like me) either ask a grownup for help or be very careful.
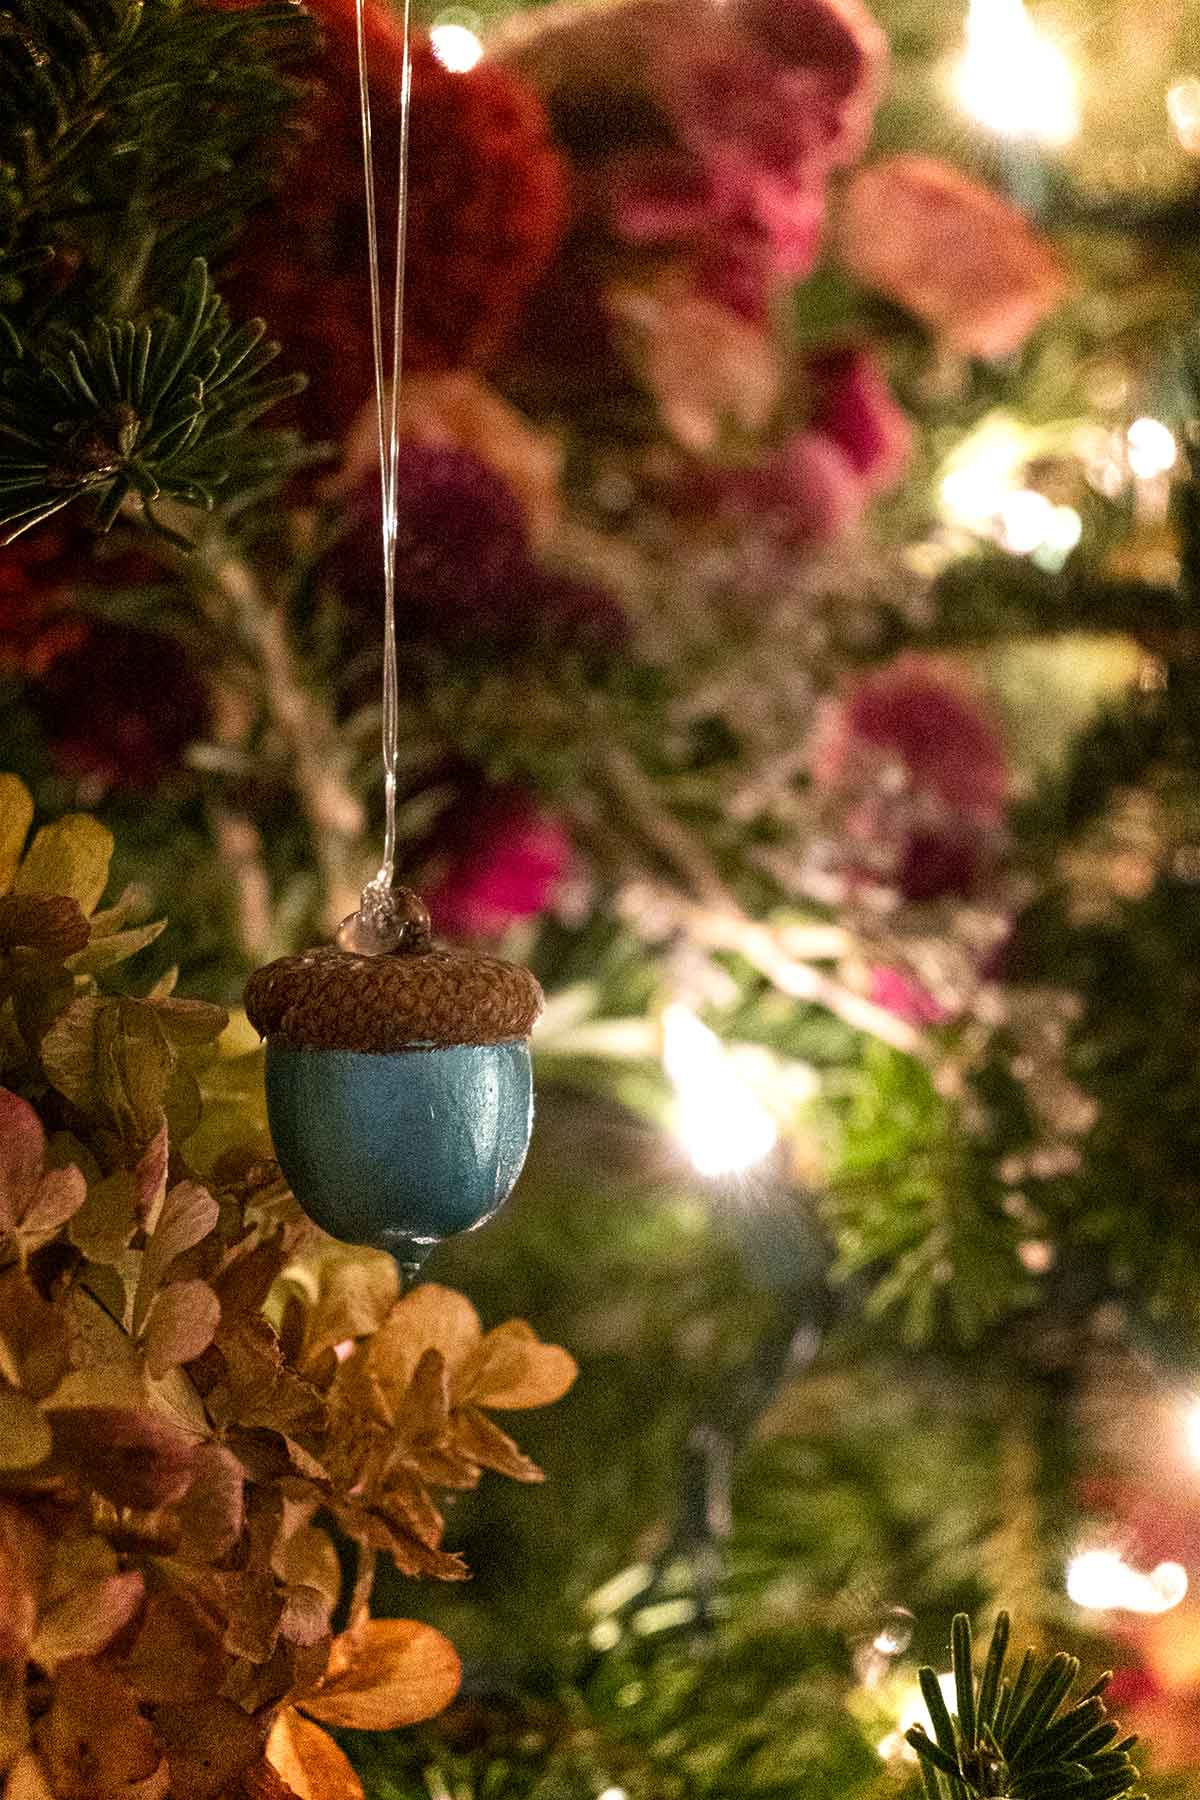
And look how pretty they are! I hope you love your acorn decorations as much as I do! May your holiday season be full of color, magic and love!

Katherine Burdette
You are just amazing! I’ve wanted to entertain like you do for years. There’s something about the way you display your scrumptious delights. I really enjoy how you add just a touch of fresh flowers here and there. And your photography is stunning. All the rich colors are so warm and inviting .Looking forward to more exciting recipes from you this holiday season.