Nothing says “I love you” like a perfectly crispy bacon rose! Learn how to make exquisitely crispy, lifelike bacon roses with this simple recipe and arrange them perfectly in a beautiful bouquet!
All you need are a few strips of thick-cut bacon, a few wooden skewers and a little greenery to make this perfectly unforgettable Valentine’s Day gift for your sweetheart.
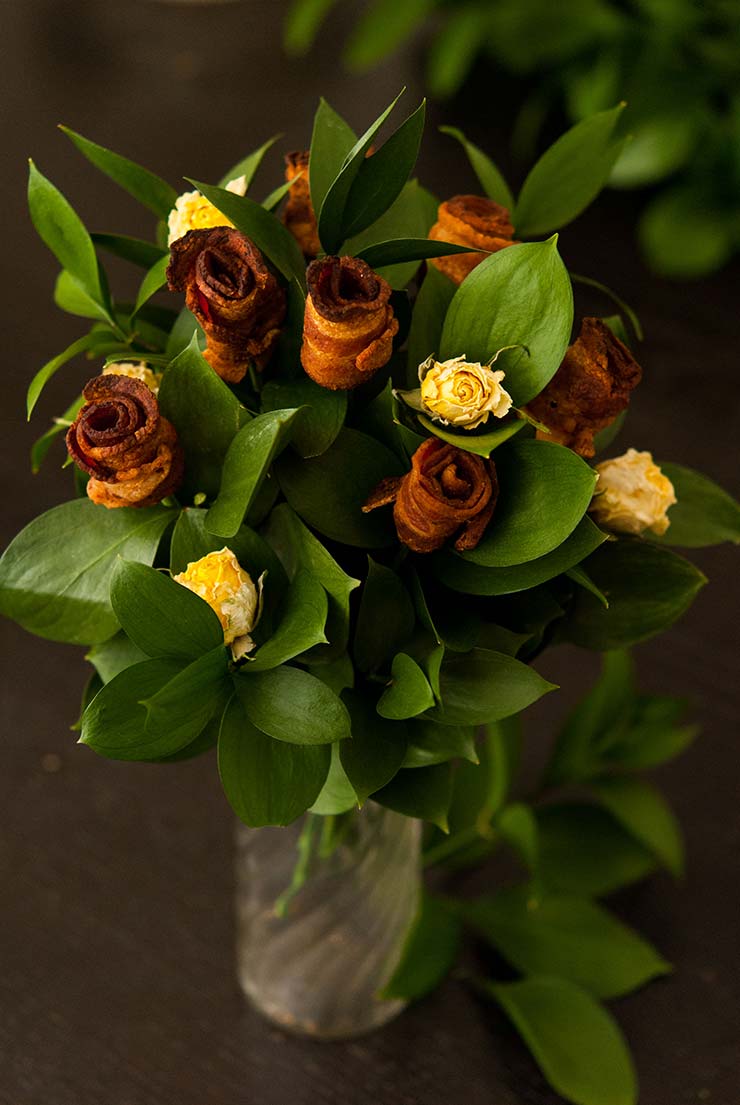
I love putting rosy accents on my appetizers, entrees and cocktails. Sometimes I use prosciutto, pearl onions, scallions, real roses and of course, bacon. I put them on deviled eggs, bruschetta, and quiches! It’s a simple, tasty way to add a little floral femininity, or unexpected elegance to my parties.

An Important Tip!
The rolling process can be pretty hot because you have to roll right as they’re out of the pan and patted dry. I personally don’t use gloves when I roll my roses, but it can get PRETTY toasty.
Just a warning. You won’t lose your finger prints, but if you’re sensitive, a pair of latex gloves makes the process a little easier.
A Few Common Questions:
1. Can bacon roses be made ahead of time and reheated?
Yes! Simply make your roses and refrigerate them in a container with a lid. When you’re ready to assemble your bouquet, simply pop them in the oven at 350 F. for 5-10 minutes to crisp them right back up again.
2. Can I just roll them and bake them?
Nope! Not unless you want bacon roses with raw centers. You want to pan cook first, then roll, then bake.
You’ll see lots of bacon rose recipes online, and if you ever see one that says to simply roll the bacon, stick with toothpicks and bake, no matter how pretty they look on the outside, I guarantee, they’re all raw on the inside. Believe me. I’ve tried that technique so many times in lots of different ways, and it always ends in a bummer.
3. What do I need to make a bacon rose bouquet?
- frying pan
- paper towels
- tooth picks
- baking sheet with grate or draining surface on top
- green skewers
- Italian Ruscus (or similar, non-toxic greenery)
- a small vase
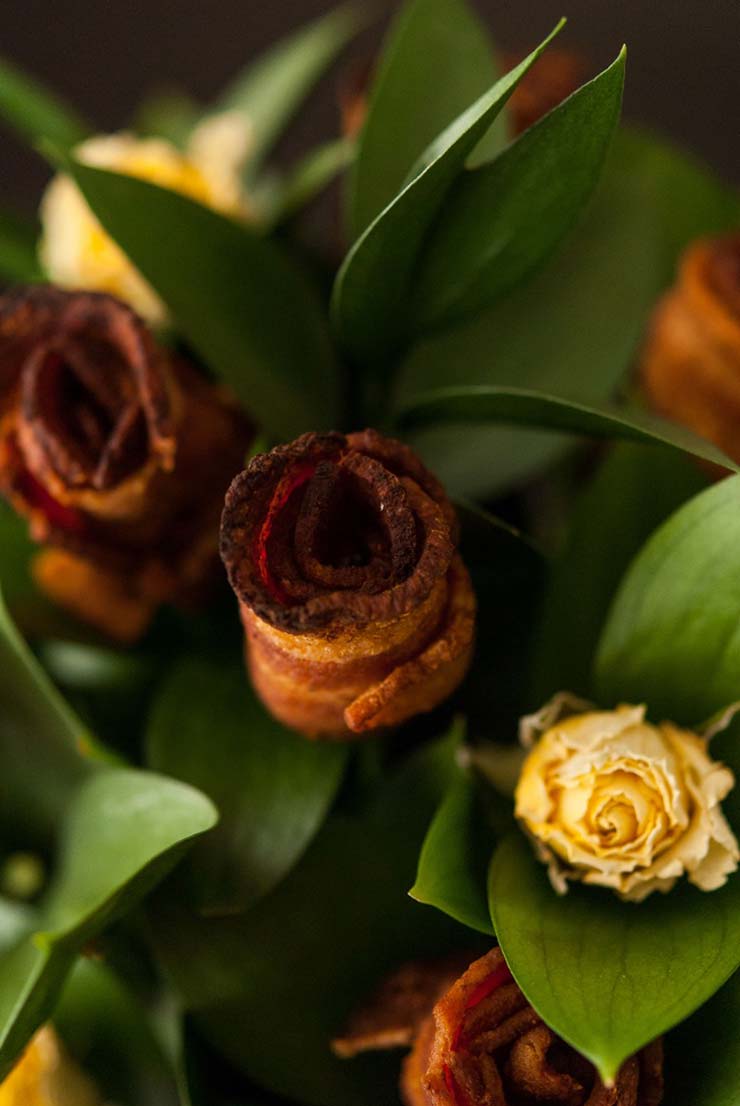
How to Make Bacon Roses – Step by Step
First, grab yourself some good, thick-cut bacon, and place your toothpicks and a paper towel on a flat service or cutting board. You’ll be using this paper towel surface to pat and roll your cooked bacon once it’s done, so have another paper towel ready to pat the bacon dry.
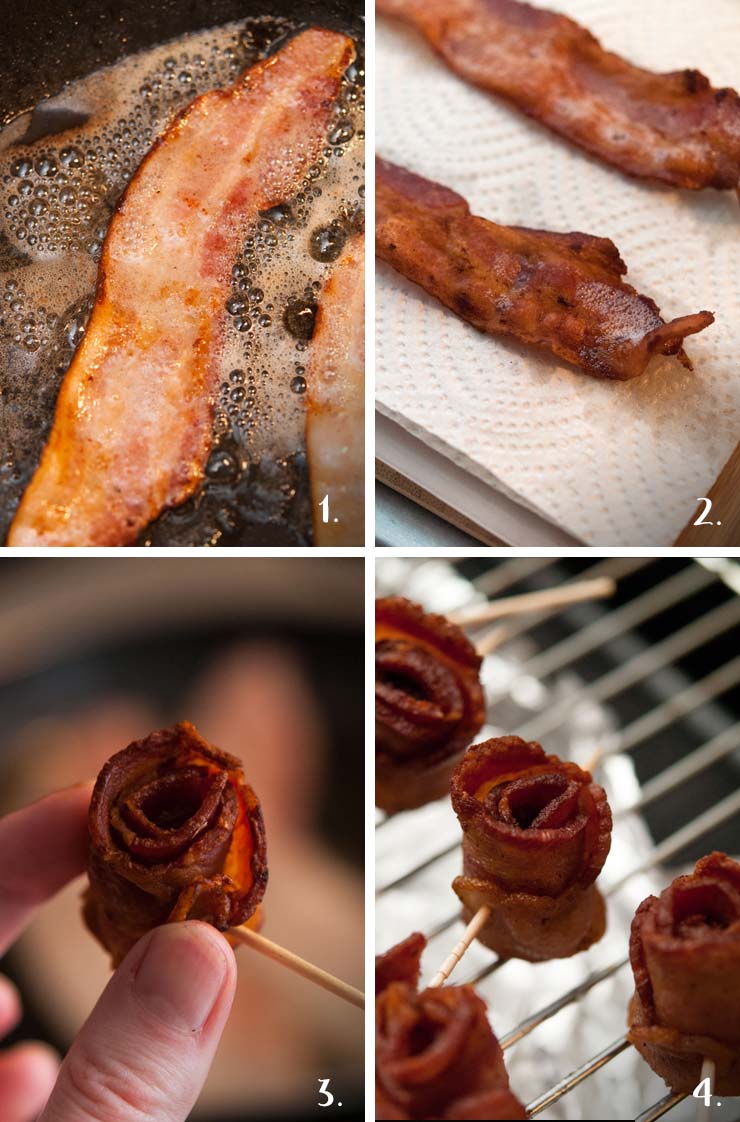
1. Preheat your oven to 400 F. Place only 2 pieces of thick-cut bacon in your pan at a time. Cook until the edges are crispy on both sides, but it doesn’t look entirely done. Think “medium” cooked. Make sure to press with a spatula if it appears to be curling up. You want it as flat as possible.
Note: You’ll have only 15-30 seconds to perform the next step so be fast like a bunny! Your bacon is only malleable for a very short amount of time. That’s why you’re only doing 2 pieces at once.
2. Once it’s cooked “medium,” quickly remove from your pan and place flat on your paper towel. Use your other paper towel to quickly pat dry, and roll your roses! Once rolled, quickly secure the end with a toothpick.
3. When your roses are rolled and secured with toothpicks, set on your baking tray while you cook and roll your other roses.
4. When they’re all done, place them in the oven for 20 minutes on the lower rack. When finished, remove them from the tray and let them sit for 10 minutes before assembling your bouquet.
Let’s Make a Beautiful Bacon Rose Bouquet!
All you need are some skewers (preferably green), a vase and some greenery. I used Italian Ruscus, a common leafy plant found at florists and New York Bodega flower shops as my base, and added a few dry roses too for fun, but they’re not essential. I found the green skewers on Amazon.
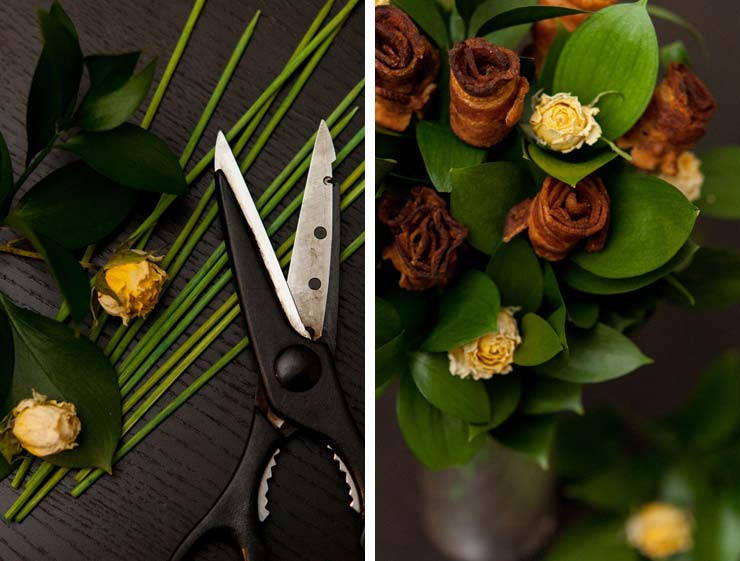
I carefully washed the leaves and simply placed them as I liked them in the vase. Then, I pushed the skewers into place, making sure to distribute them evenly around the bouquet.
Next, I popped each rose right onto the skewers and added the little yellow roses where they looked prettiest. That’s all there is to it! You’ll find the full bacon rose recipe below. Have fun, and enjoy your beautiful bouquets!
For a little more rosy, Valentine inspiration, take a look at these romantic recipes!
- Bruschetta with Seared Tomatoes, Roasted Garlic & Burrata
- White Chocolate Cheesecake Mousse with Raspberry Compote
- The Divine Damiana Valentine Cocktail
- Romantic Valentine’s Day Deviled Eggs
For more inspiration, subscribe to my newsletter, and follow me on Instagram, on Pinterest, tiktok, and Facebook! And if you ever make any of my tasty drinks or treats, take a picture and tag me. I want to see!

How to Make Bacon Roses
Equipment
- frying pan
- paper towels
- 12 tooth picks
- baking sheet with grate or draining surface on top
- 12 green skewers
- Italian Ruscus (or similar, non-toxic greenery)
- a small vase
Ingredients
- 12 slices bacon – thick cut
Instructions
- First, grab yourself some good, thick-cut bacon, and place your toothpicks and a paper towel on a flat service or cutting board. You’ll be using this paper towel surface to pat and roll your cooked bacon once it’s ready, so have another paper towel ready to pat the bacon dry.
- Preheat your oven to 400 F.
- Place only 2 pieces of bacon in your pan at a time. Cook until the edges are crispy on both sides, but it doesn’t look entirely done. Think “medium” cooked. Make sure to press with a spatula if it appears to be curling up. You want it as flat as possible. Note: You’ll have only 15-30 seconds to perform the next step so be fast like a bunny! Your bacon is only malleable for a very short amount of time. That’s why you’re only doing 2 pieces at once.
- Once it’s cooked “medium,” quickly remove from your pan and place flat on your paper towel. Use your other paper towel to quickly pat dry, and roll your roses! Once rolled, quickly secure the end with a toothpick.
- When your roses are rolled and secured with toothpicks, set on your baking tray while you cook and roll your other roses.
- When they’re all done, place them in the oven for 20 minutes on the lower rack.
- When finished, remove them from the tray and let them sit for 10 minutes before assembling your bouquet.


Michael
Omg these are incredible! I wish my wife would make them for me!!!