This no-bake vanilla cheesecake mousse is dreamy, creamy and layered with blueberries, raspberries and a scrumptious Nilla Wafer crumble! Truly one of the EASIEST, and PRETTIEST desserts you’ll ever make – and perfectly patriotic for the 4th or July or Memorial day!
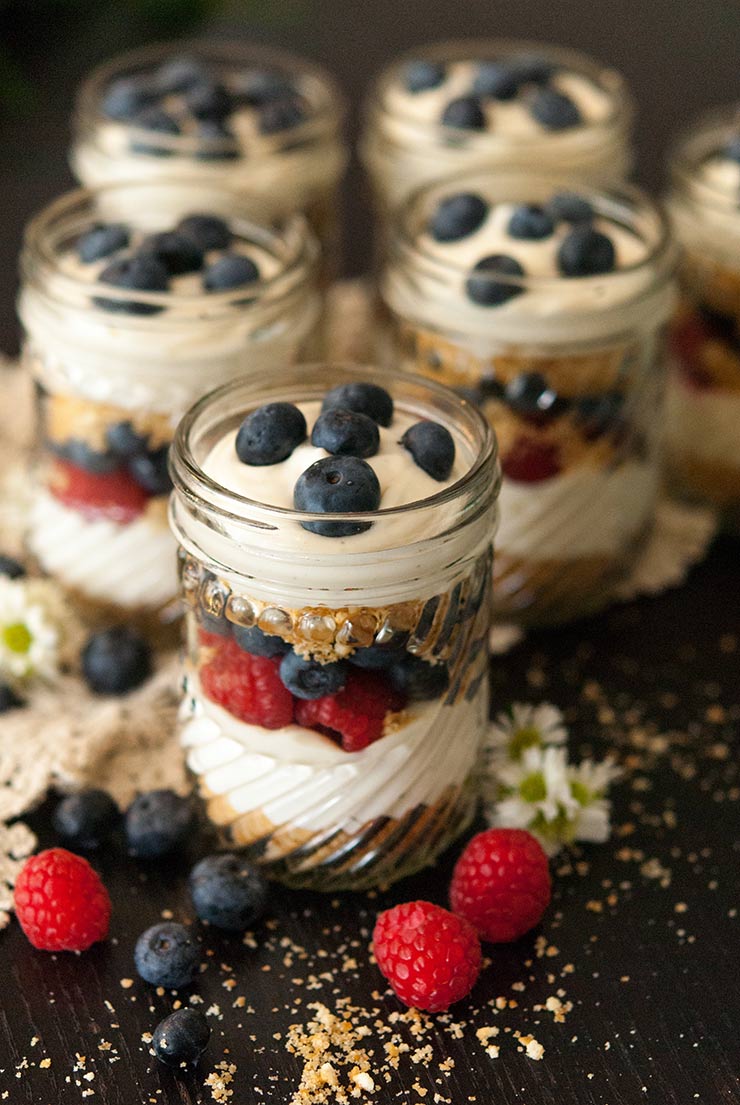
I took these lovely little mousses with me to the beach on the 4th of July, and even though my friends and I were so chatty and excited about our perfect beach day, the moment I served these, everyone went completely quiet.
Folks just melted into these little mason jars. The first words uttered after an eerily (and delightfully) prolonged silence was “Oh my God.” I think the second words were “That was insane.” I think I also heard “What did you just do to me?” I took them all as compliments.
I love layered mason jar desserts because they’re portable and they make people feel so special when you hand them out. Everyone gets their own little work of dessert art! (“Dess-art?”) They really are so pretty.
These beauties take only 30 minutes to make. No baking. No fuss. Just crumble, whip, stir and fill your glasses.
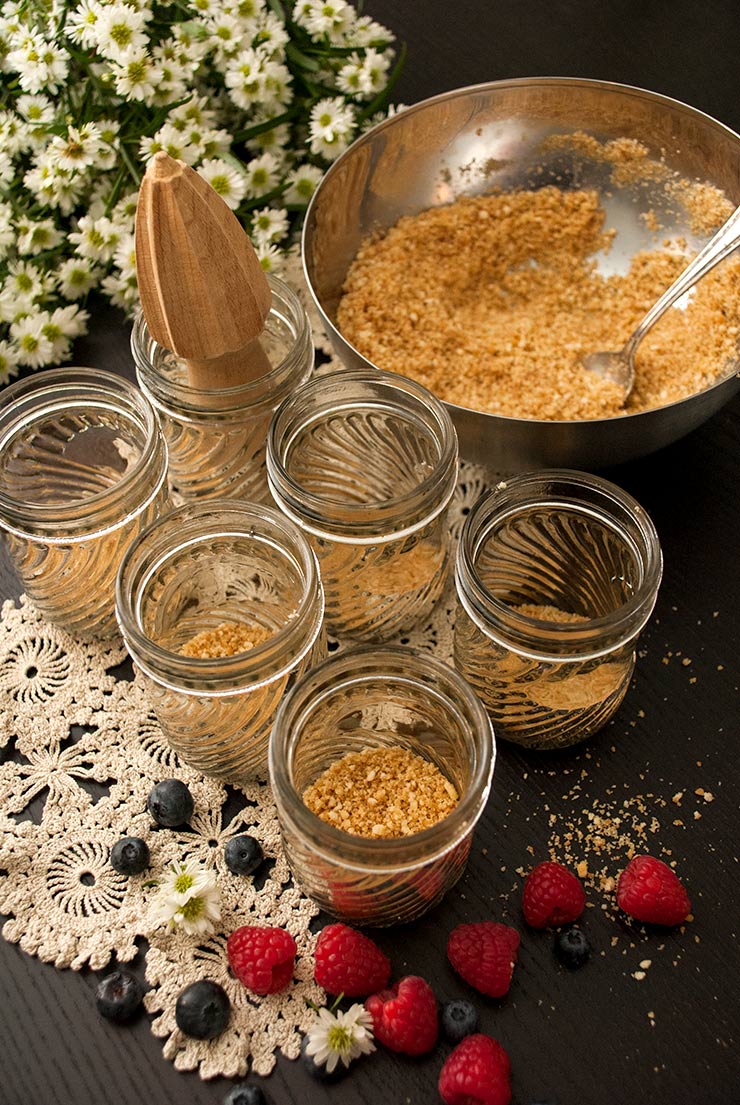
What if I Don’t Have Mason Jars?
Don’t worry! They won’t be portable, but you can fill tumblers or wine glasses and they’ll look so beautiful! I would suggest filling your glasses with your layers, then plastic-wrap the tops so the top layer of cheesecake doesn’t dry out.
How Long Will This Cheesecake Mousse Last in The Fridge?
There’s no way you’ll be able to not eat it for this long, but it will be perfectly fine for at least 3 days. It does depend a bit on the freshness of your berries though.
If they’re very fresh when you add them, 3 days is about right. The cheesecake mousse all by itself (without berries or crumble) will be perfectly good for 5-7 days as long as it’s sealed in a container.
Can I Serve Them Right Away?
You want to let your cheesecake mousse set in the fridge for at least 4 hours or overnight after you’re done making it. The consistency isn’t quite as divine as after it’s properly set.
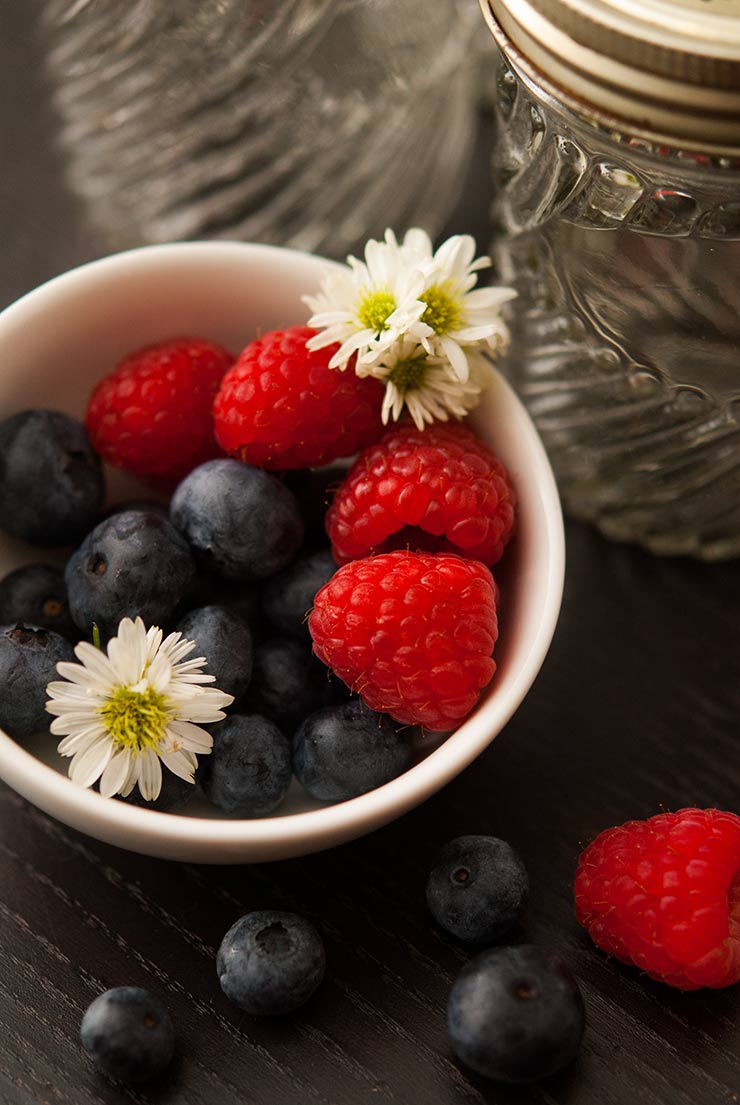
How to Make Layered Red White & Blue Vanilla Cheesecake Mousse – Step by Step
You’ll require 2 mixing bowls, a blender, a food processor, 6 (8 ounce) mason jars with lids and a hand mixer for this recipe. If you don’t have a food processor, you can use a bag and rolling pin. If you don’t have mason jars, you can use tumblers or wine glasses and cover with plastic wrap.

1. Grind 1½ cups of Nilla Wafers in a food processor, or put them in a bag and roll them with a rolling pin until they’re finely crumbled.
2. Melt 3 tbsp. of butter and mix into crumbles throughly.
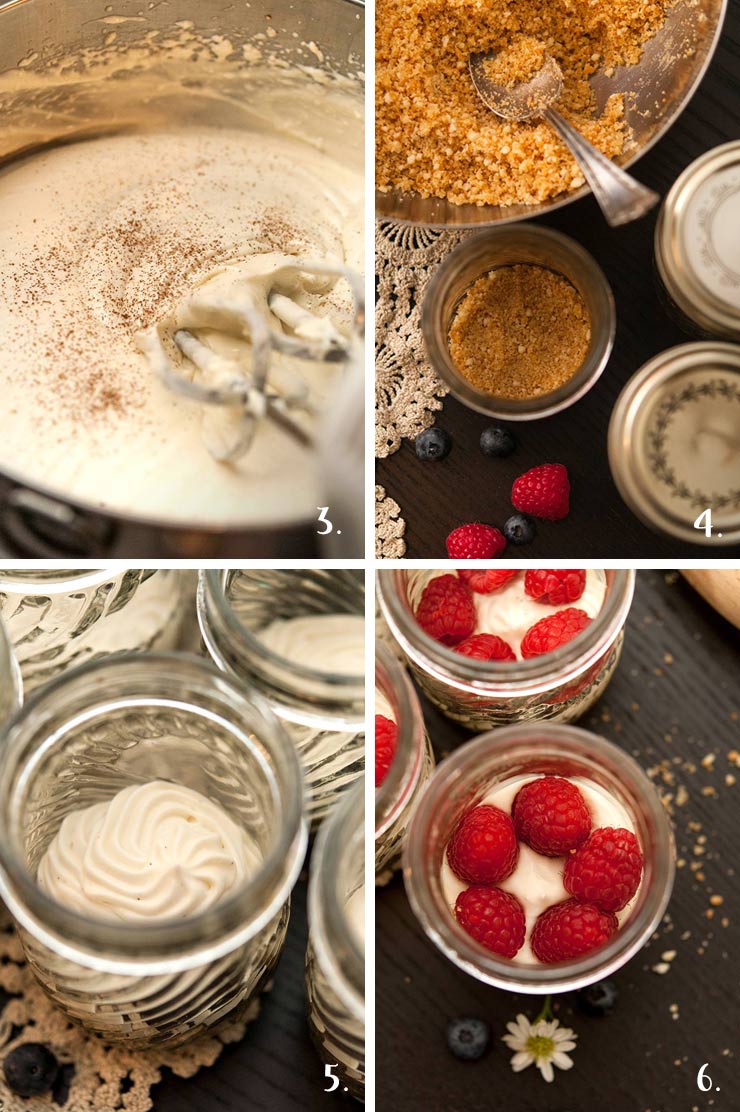
3. Whip 1 cup of heavy whipping cream until fully whipped in a blender – You’ll know it’s a perfect whipped cream when it stops spinning in the blender. 1 cup should take between 15-30 seconds to blend into whipped cream. Pour into a large mixing bowl, then use a hand mixer to mix in 8 ounces of whipped cream cheese.
Pour in 1½ tbsp. of vanilla extract, a teeny, tiny amount of cinnamon (just 2 or 3 pinches) and the condensed milk (only use ½ of a 14 ounce can) and thoroughly mix with your mixer till perfectly creamy. Set aside.
4. Spoon about 2-3 tsp. of the crumbles into your jars or cups – enough to make your first layer, and gently pat down with a tool like the end of a spatula or spoon. I used the other end of my wooden lemon juicer. You’re going to have 5 layers total, so make sure not to fill too high.
5. You can either fill a pastry bag with your mousse an d create your second layer, or simply spoon it on top of your first crumble layer.
6. Place your raspberries around the edge of the jars.
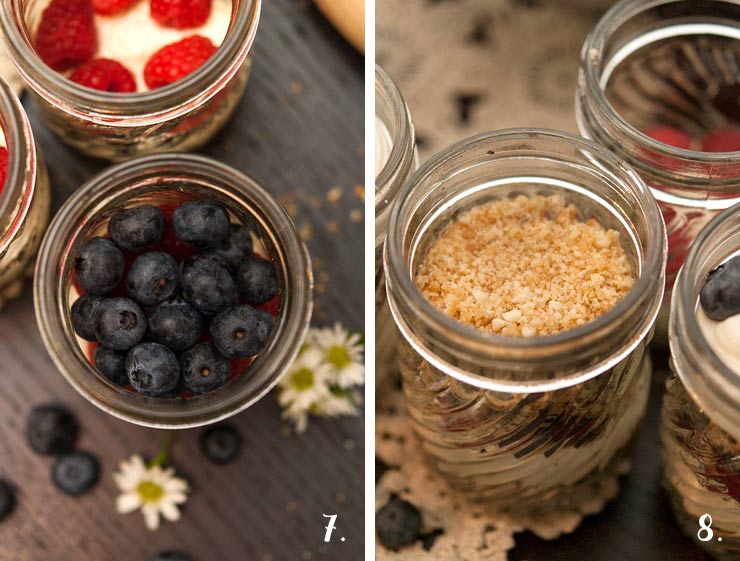
7. Then place your blueberries on top, making sure to fill in the gaps of the raspberries so your next crumble layer doesn’t fall through too much.
8. Add your next crumble layer to your jars.
9. Then add your last cheesecake layer. Leave a little room to place some berries right on top.
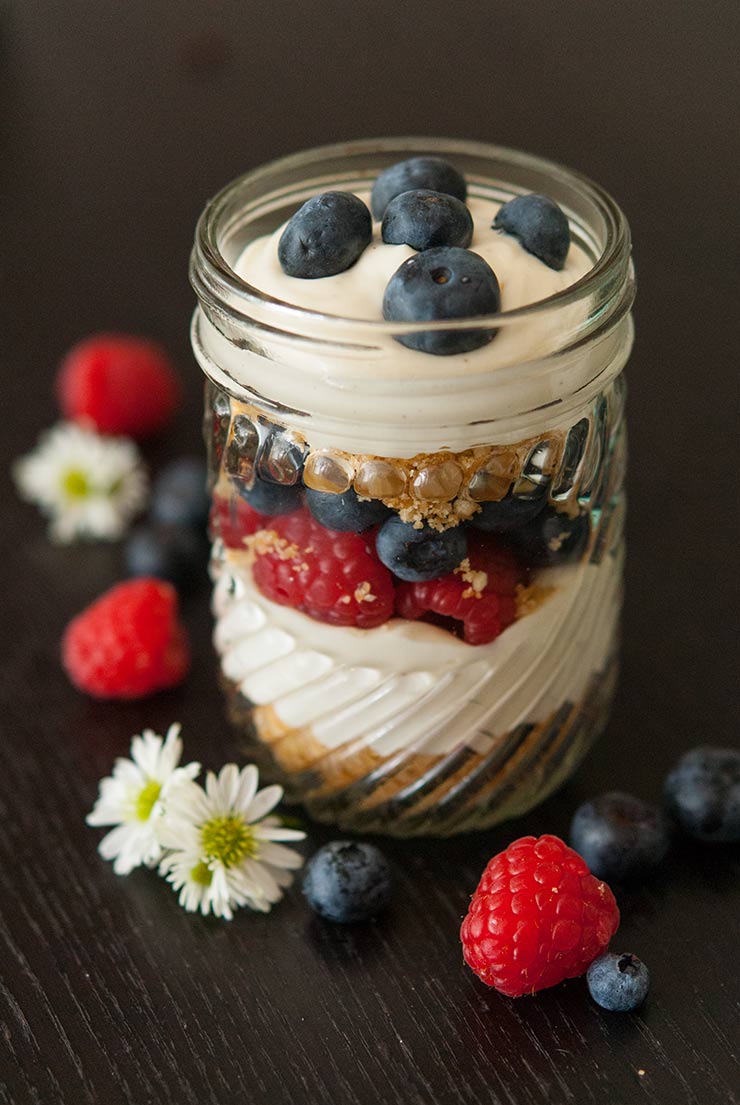
Screw on their tops (or cover with plastic-wrap if you’re using glasses) and place in the fridge for at least 4 hours. Serve and watch your friends swoon!
Help Yourself to A Few More Tasty Portable Desserts
• Creamy, No Bake Lemon Cheesecake Mousse with Strawberries
• Beautiful Lemon and Raspberry Cheesecake Bars
• Layered Raspberry & Peach Crisp
• Sunshine Lavender Lemon Bars
For more inspiration, subscribe to my newsletter, and follow me on Instagram, on Pinterest, tiktok, and Facebook! And if you ever make any of my tasty drinks or treats, take a picture and tag me. I want to see!
Red White & Blue Vanilla Cheesecake Mousse
Ingredients
- 1½ cups Nilla Wafer Cookies
- 3 tbsp. butter – salted
- 1 cup heavy whipping cream
- 8 ounces cream cheese – whipped
- 1½ tbsp. real vanilla extract
- 14 ounce can of sweetened condensed milk – use only ½ a can
- Cinnamon – 2 to 3 pinches
- ¾ cup raspberries
- 1 cup blueberries
Instructions
- Grind 1½ cups of Nilla Wafers in a food processor, or put them in a bag and roll them with a rolling pin until they’re finely crumbled.
- Melt 3 tbsp. of butter and mix into crumbles throughly.
- Whip 1 cup of heavy whipping cream until fully whipped in a blender – You’ll know it’s a perfect whipped cream when it stops spinning in the blender. 1 cup should take between 15-30 seconds to blend into whipped cream.
- Pour into a large mixing bowl, then use a hand mixer to mix in 8 ounces of whipped cream cheese.
- Pour in 1½ tbsp. of vanilla extract, a teeny, tiny amount of cinnamon (just 2 or 3 pinches) and the condensed milk (only use ½ of a 14 ounce can) and thoroughly mix with your mixer till perfectly creamy. Set aside.
- Spoon about 2-3 tsp. of the crumbles into your jars or cups – enough to make your first layer, and gently pat down with a tool like the end of a spatula or spoon. I used the other end of my wooden lemon juicer. You’re going to have 5 layers total, so make sure not to fill too high.
- You can either fill a pastry bag with your mousse an d create your second layer, or simply spoon it on top of your first crumble layer.
- Place your raspberries around the edge of the jars. Then place your blueberries on top, making sure to fill in the gaps of the raspberries so your next crumble layer doesn’t fall through too much.
- Add your next crumble layer to your jars.
- Then add your last cheesecake layer. Leave a little room to place some berries right on top.
- Screw on their tops (or cover with plastic-wrap if you’re using glasses) and place in the fridge for at least 4 hours. Serve and watch your friends swoon!





sara
These look beautiful!
Genevieve Morrison
Thank you!