
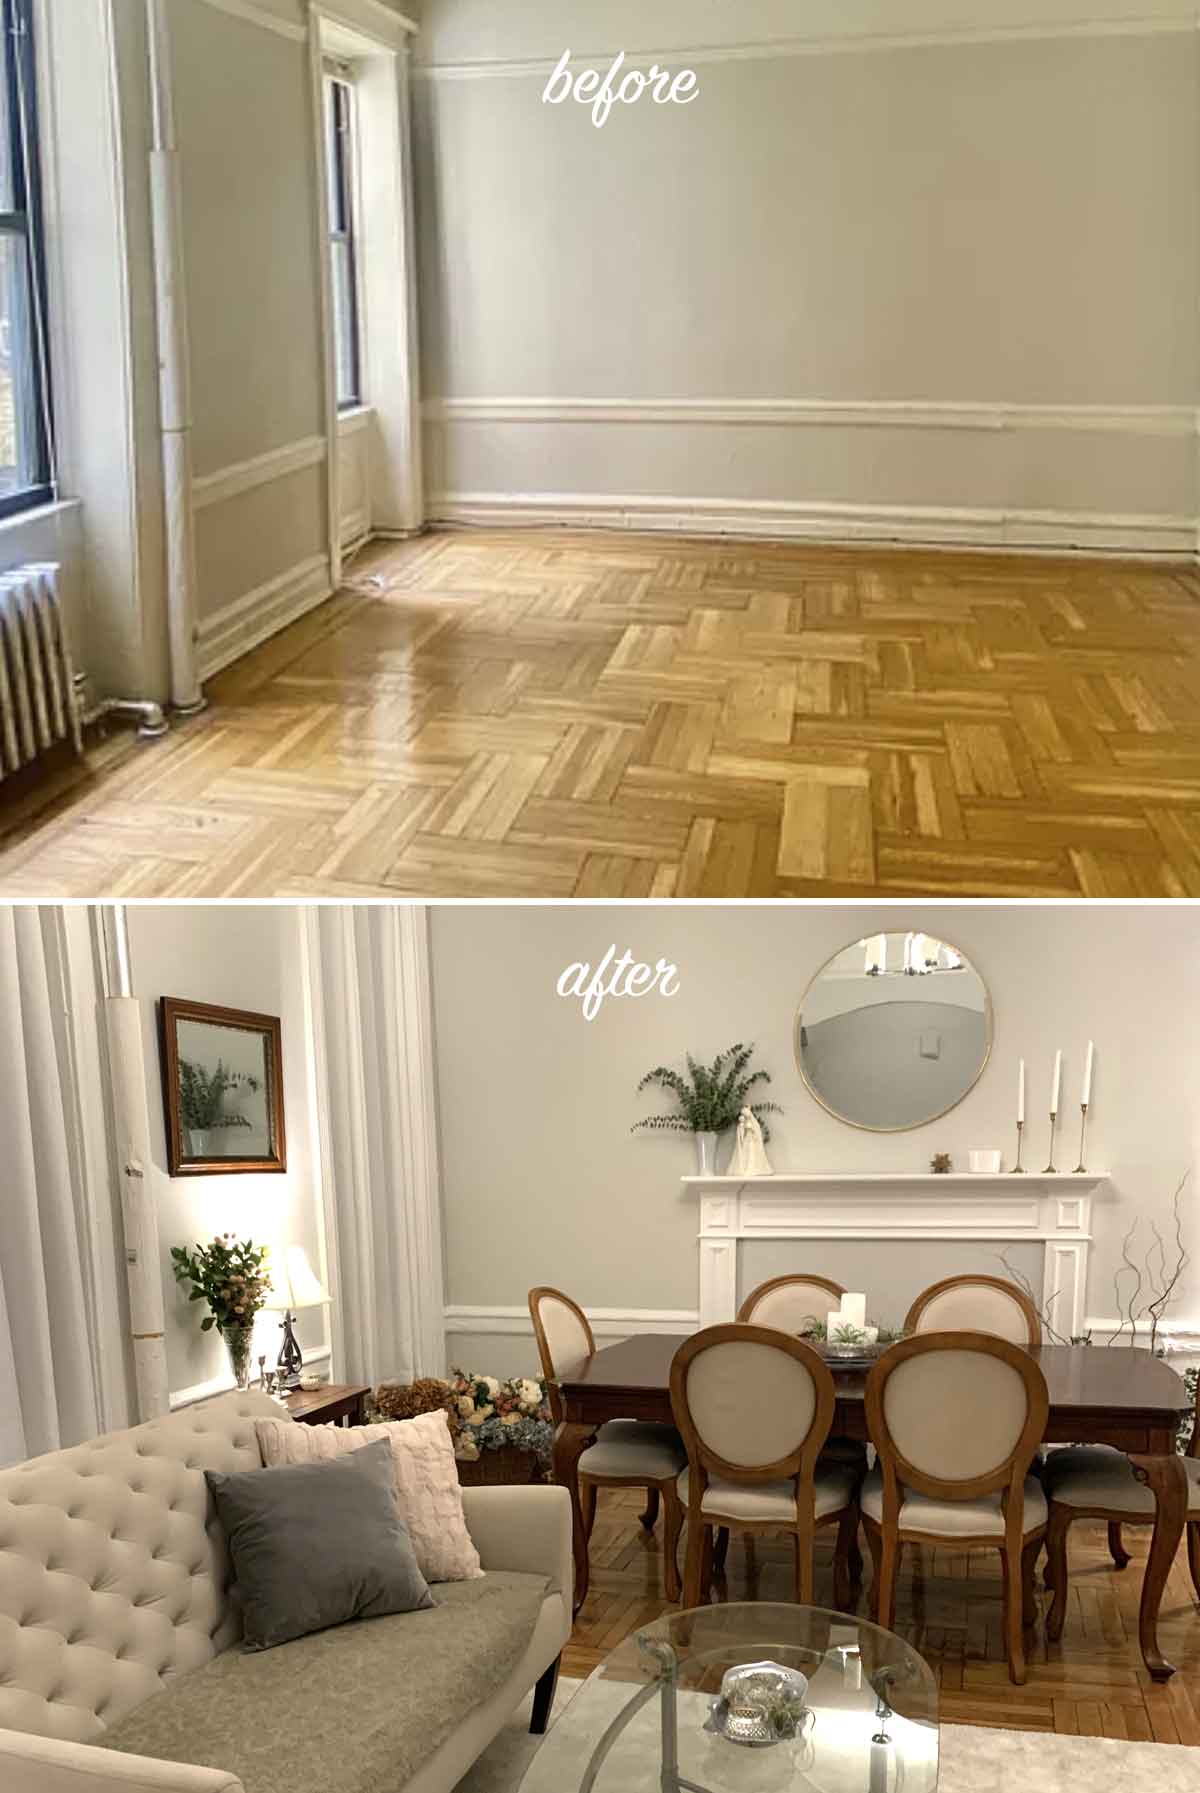
Could your living room use a lovely faux fireplace? It’s easy to add this beautiful mantle to your wall by simply assembling and hanging it! All you need is a quality mantlepiece and a little love of DIY home projects.

This DIY mantle is perfect for those who rent, like me, because it’s simply attached with a French cleat and slides right on and off the wall. You can even take it with you if you move! If you want to attach the mantle to the wall for good, you can simply caulk around it once it’s hung in the cleat.
It took my husband and I (well, mostly my husband) a few hours to assemble and attach. I have a chair rail on the wall that added a little extra ingenuity than you may require, so it will likely be an easier process for you if you don’t have one. We then spent a little more time creating and painting the textured piece in the center.
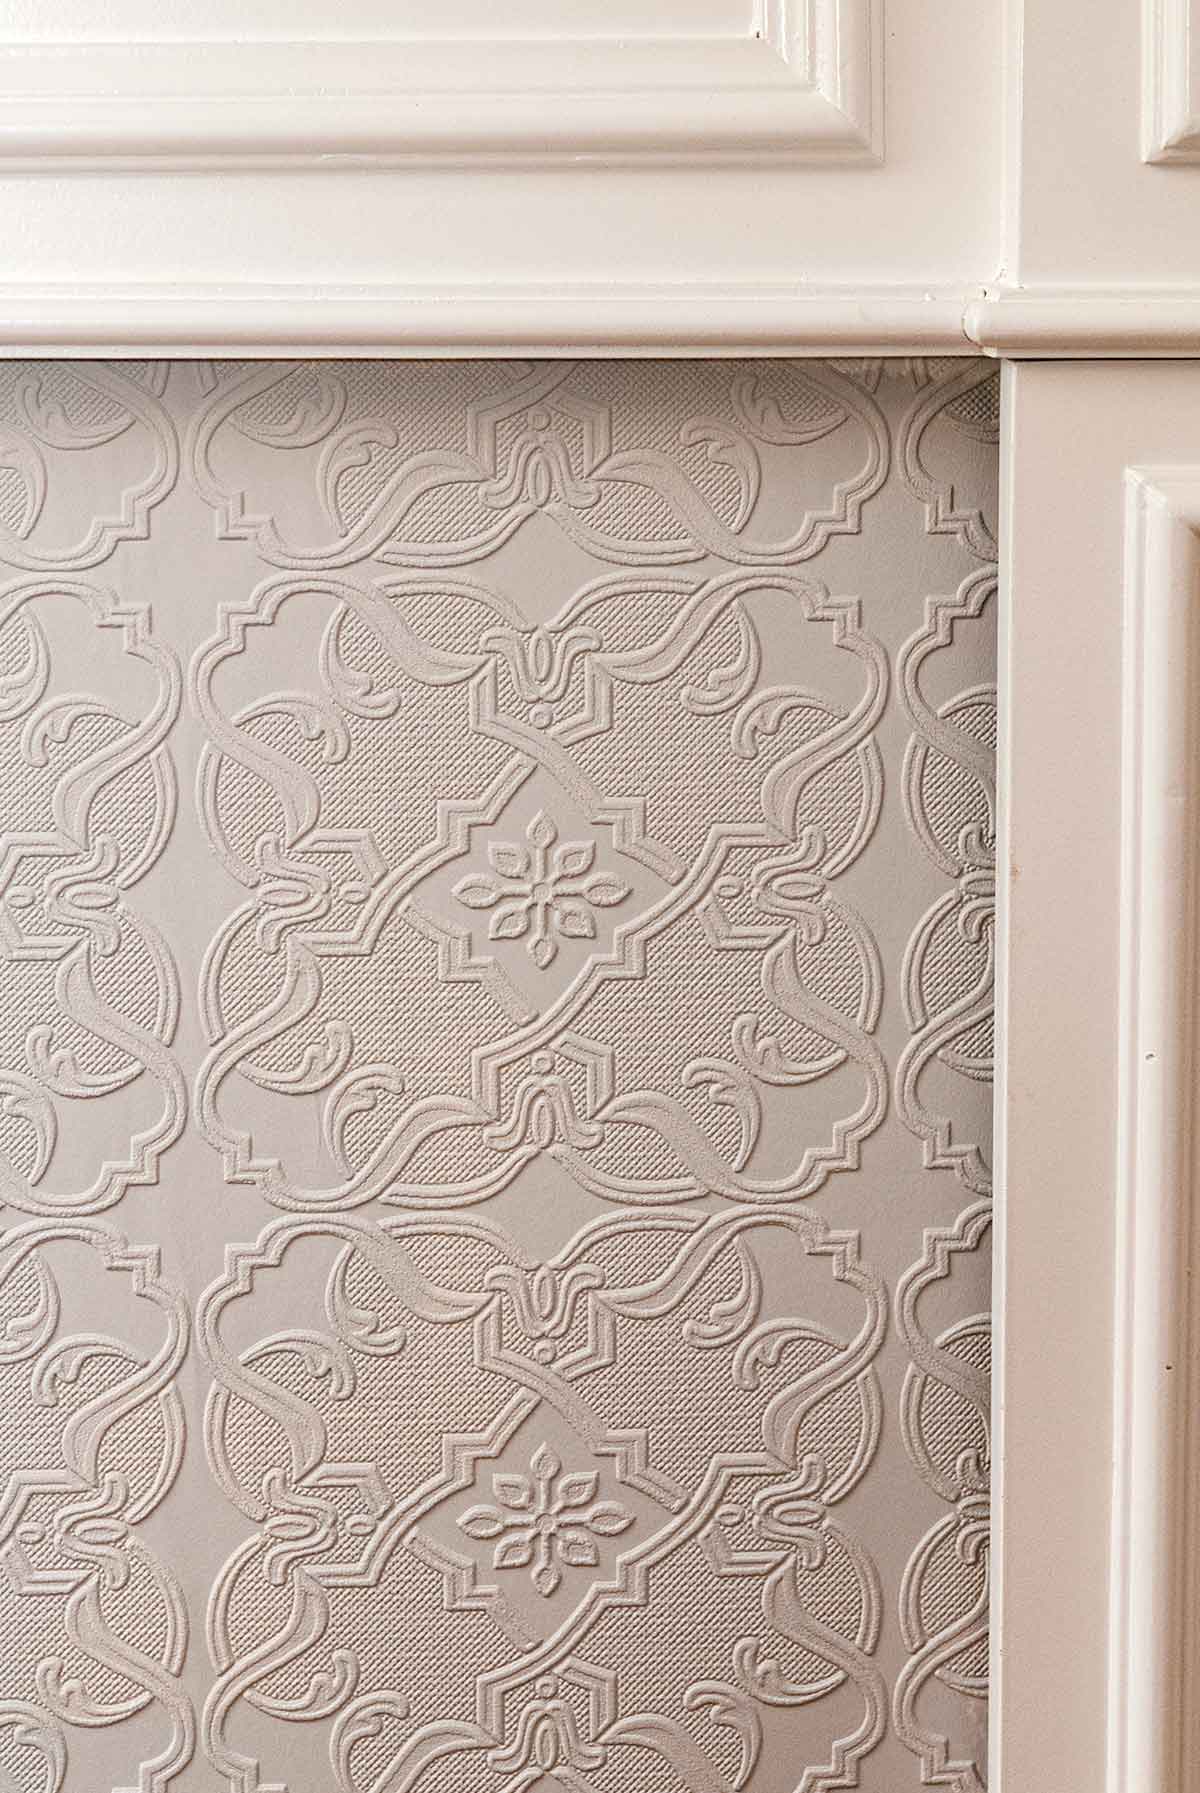
We added a wooden board behind the mantle and covered it with anaglypta that looks like painted tin. It’s actually just embossed paper that goes on like wallpaper! I’ll show you how to create that as well.
I recently moved and had a beautiful mantle in my last apartment. I missed it so much, I had to make one of my own. It’s not quite as ornate as my last one, but I think it really gives the whole room more character and makes it feel like home.
What You’ll Need
Fireplace Mantle – mine is called “The Mike” from Pearl Mantels. The exact model I got is currently unavailable, but they have a number to choose from that are just as pretty and I believe they all assemble and attach the same way, but if you decide to get another model, check with the manufacturer.
Drywall Anchors – The mantle that I chose came with all the needed screws and pieces to hang it on the wall, however, it did not come with drywall anchors to really secure the cleat, so you’ll need to take the screws to a hardware store and ask for anchors that will fit them.
Drill – This project really requires a good drill to secure the French cleat to the wall. A screwdriver alone won’t do.
Level – You’ll want to be sure your French cleat is perfectly straight when drilling it to the wall.
Tape Measure – You’re going to need to measure exactly where to put the French cleat on the wall.
Hand Saw – If you intend to put a board behind the mantle, you’ll see that there are a few pieces behind it that you may need to cut around to keep it perfectly flat.
Wooden Board – I used a 52” W x 43” H board to place behind the mantle to hide the chair rail and add some nice texture using anaglypta paper. The board itself was actually 2 pieces that we used wood glue to attach into one.
About 6-10 Small Screws – If you want to attach the board behind the mantle.
Anaglypta – This is a wallpaper that looks like tin. You don’t need this specific kind of paper, you can simply paint the board, it just looks so pretty. It comes in white and can be painted any color that you like.
Wallpaper Adhesive – If you intend to cover a board with anaglypta or wallpaper, you’re going to need glue. We used Heavy Duty Wallcovering Adhesive, and we used the full quart.
Wallpaper brush or roller – I just used a nice big brush to apply the adhesive to the board.
Drop Cloth – If you want to keep things nice and clean when applying glue or paint.
Pencil & Eraser – You’ll be marking where to place the French cleat.
Contour Gauge (optional) – If you don’t have a chair rail or something you need to cut around, you won’t require this. It’s a measuring tool that we used to measure the chair rail. We then used it to trace the parts we wanted to remove on the mantle legs.
Dremel (optional) – Again, without a chair rail or something that needs to be cut around, you won’t require this tool. It’s what my husband used to finely cut the shape of the chair rail out of the mantle legs.
How to Assemble the Mantle – Step by Step
Keep in mind, this isn’t a comprehensive how-to. You do have to have some knowledge of how to use a drill and if you have a chair rail as I do, you’ll also need to know how to use a Dremel and contour gauge. It’s also very helpful to have an extra set of hands to help you because the mantlepiece is a bit heavy.
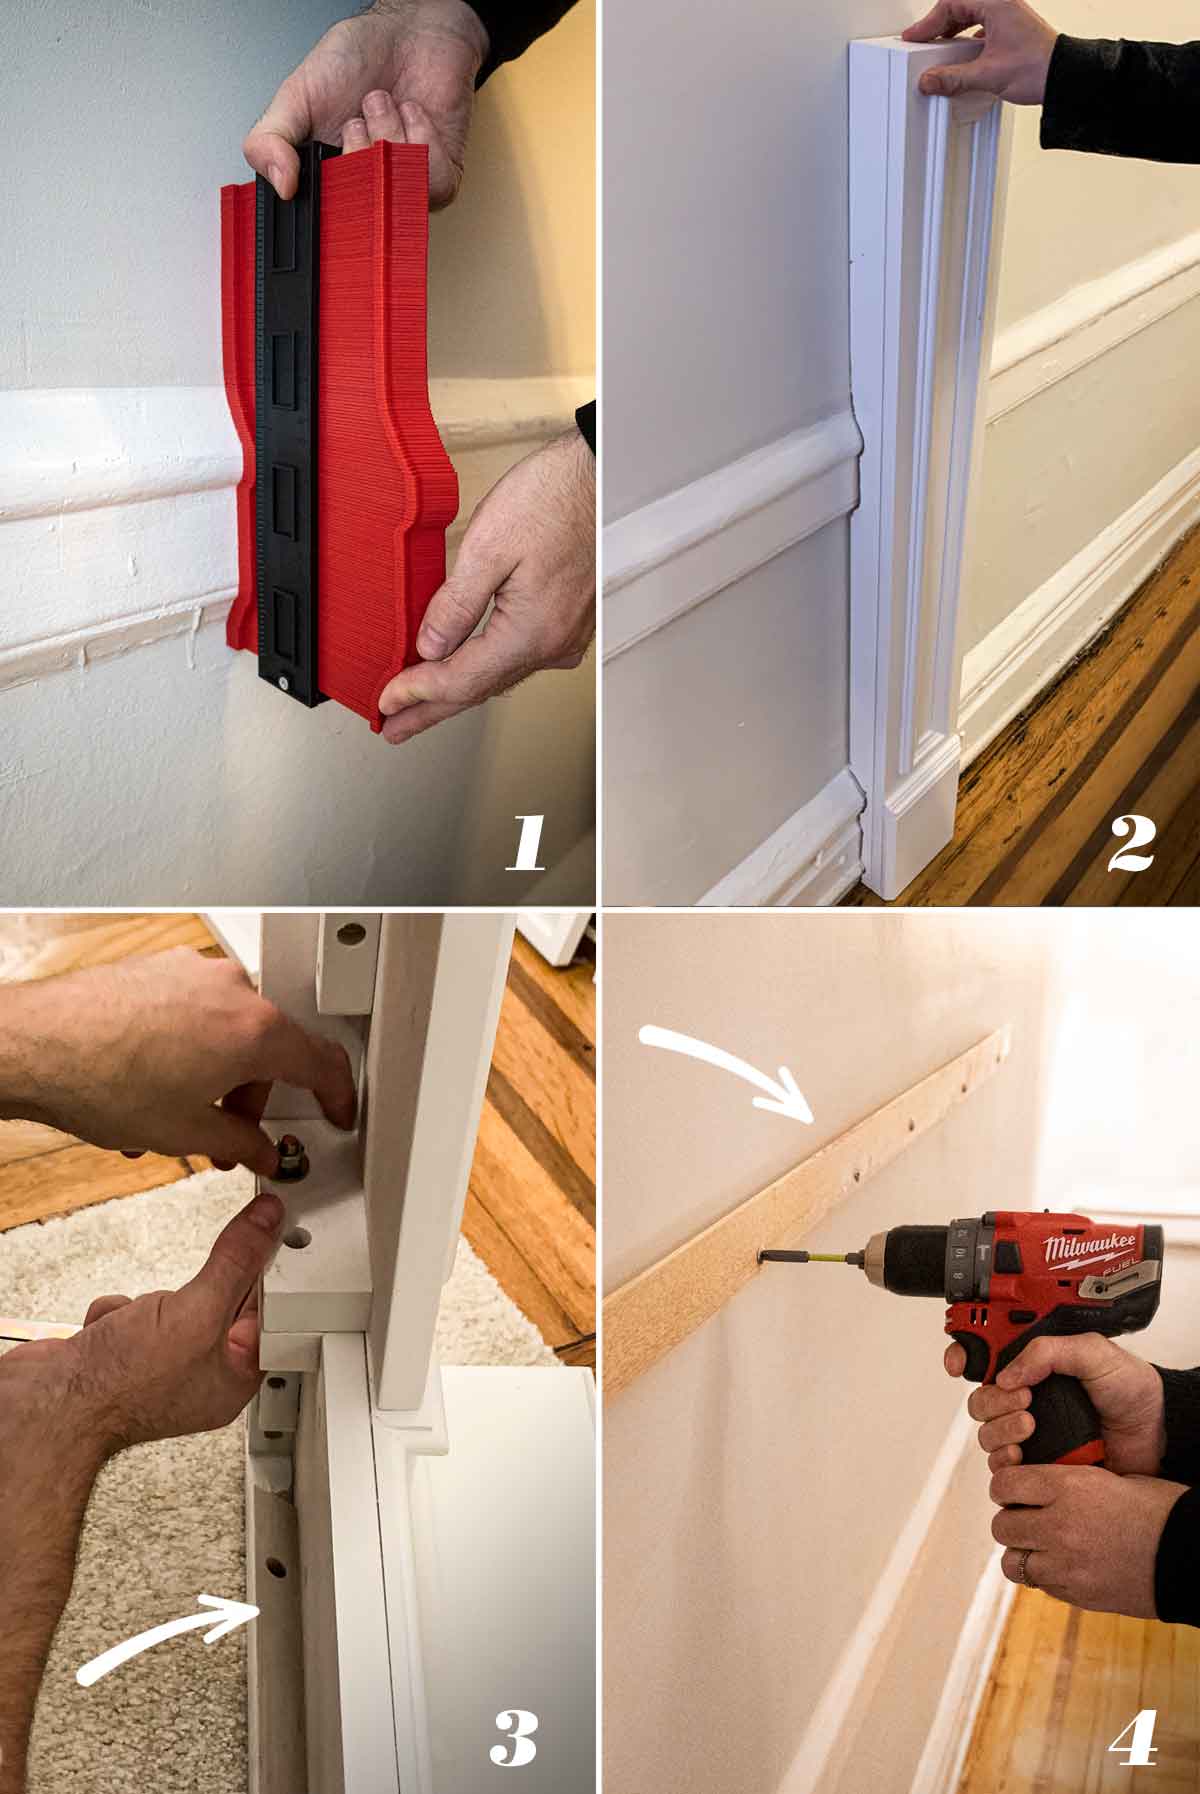
1. If you have a chair rail or need to cut around an object on the wall, use a contour gauge to measure it exactly.
2. Hold the legs against the wall (it’s a good idea to have someone hold it for you), then use a pencil to trace around the contour gauge exactly where it will need to be cut. Use a Dremel to then cut out the shapes.
3. Follow directions in the packaging about where to put the screws. The arrow is pointing to the hanging ledge of the mantle.
4. Use a tape measure to measure the height of the hanging ledge of the mantle to find where the French cleat should be placed on the wall. Again, it’s a good idea to have someone help you hold the cleat in place, using a level, to ensure it’s perfectly straight as you trace it with a pencil. Simply drill the cleat to the wall. The arrow is pointing to where you’ll hang the mantle. At this point, you can simply hang the mantle on the wall.
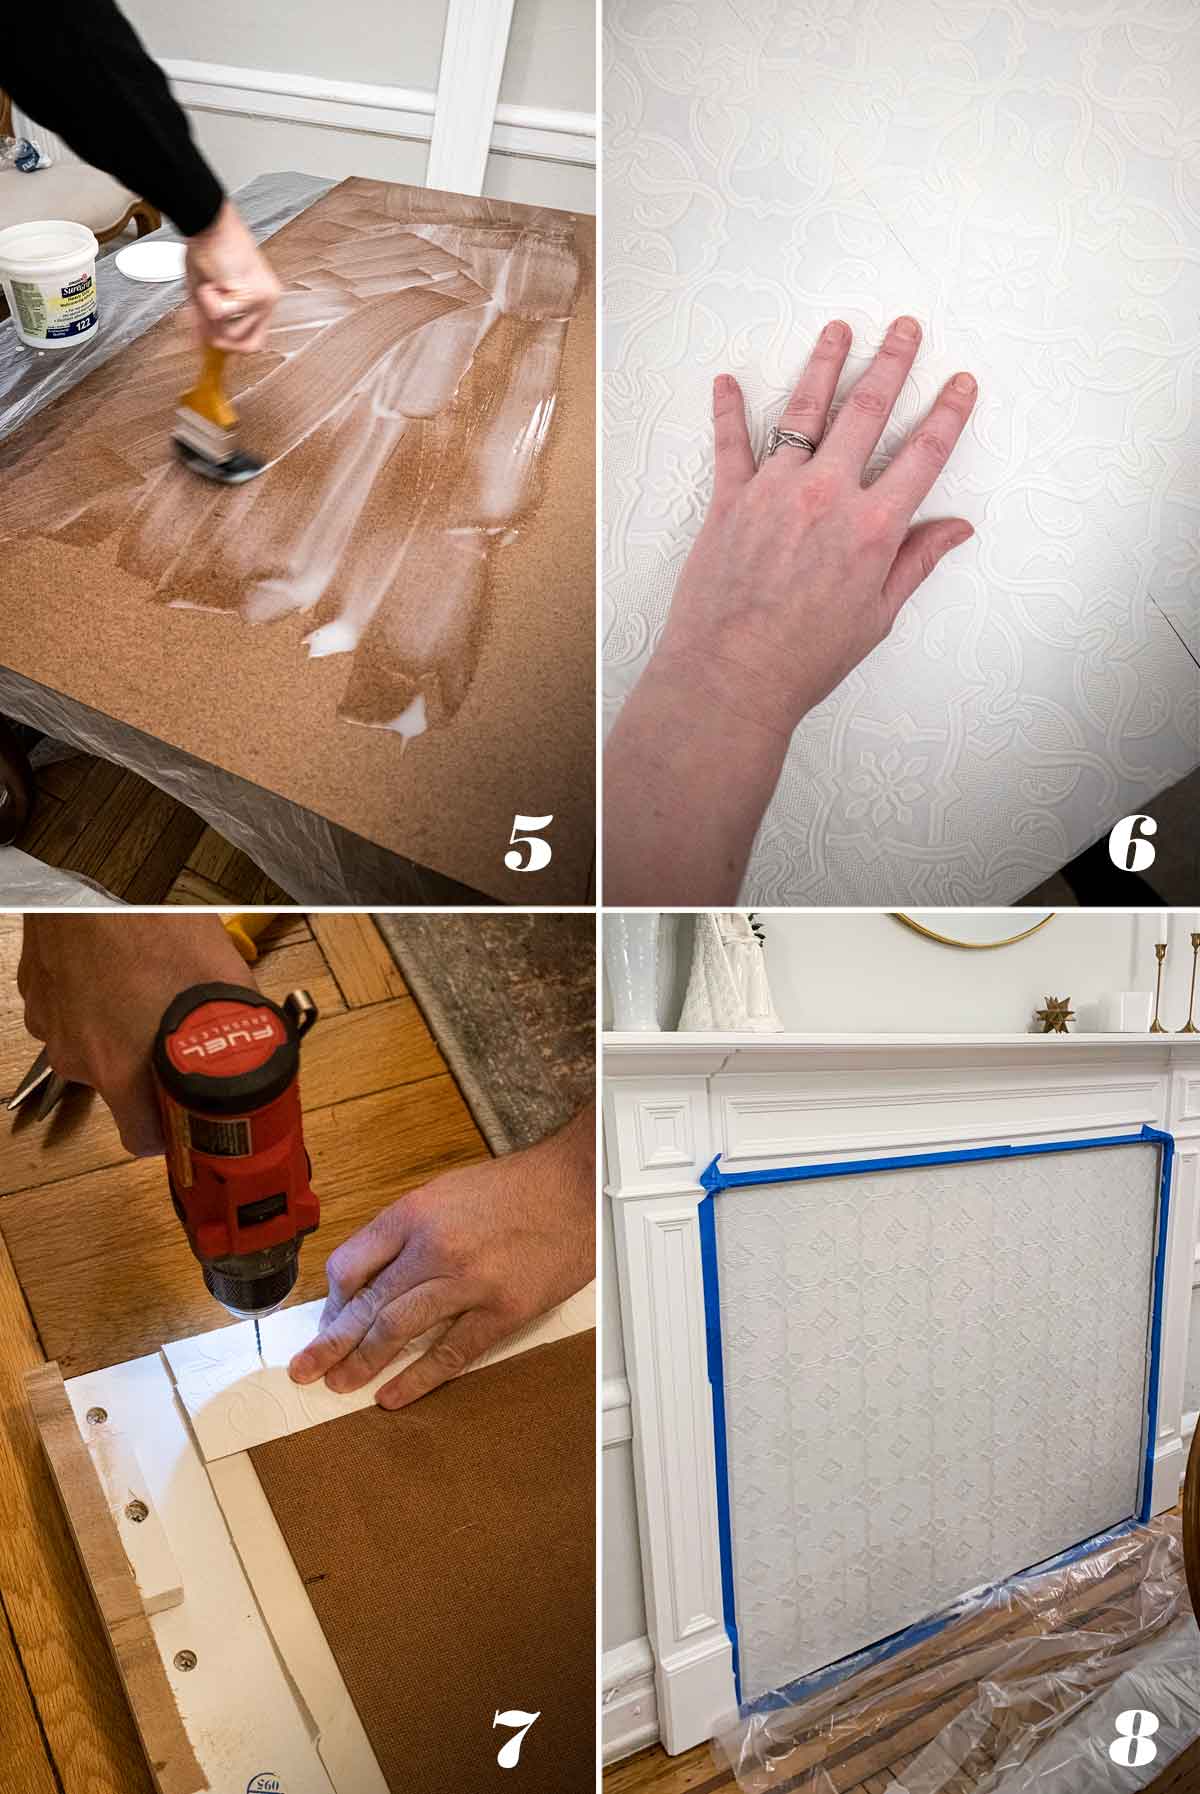
5. If you want to add a board with anaglypta behind the mantle like I’ve done, first, use a hand saw to cut a 52”w x 43” H board around the few pieces of wood behind the mantle that will prevent it from laying flat. Then, grab a buddy (it’s a lot easier with 2). Paint the board with wallpaper adhesive. It won’t dry fast.
6. Very carefully measure and line up the pattern. You want to carefully line up the seams and gently press to set the paper in place. Allow it to dry overnight, or 8-10 hours.
7. Then, add a few screws to attach it to the top and pin it to the bottom. I should have painted before we drilled the board to the mantle but I didn’t have the paint yet and couldn’t wait to put it up!
8. I just added painter’s tape around the edges to keep them clean when I finally got my paint.
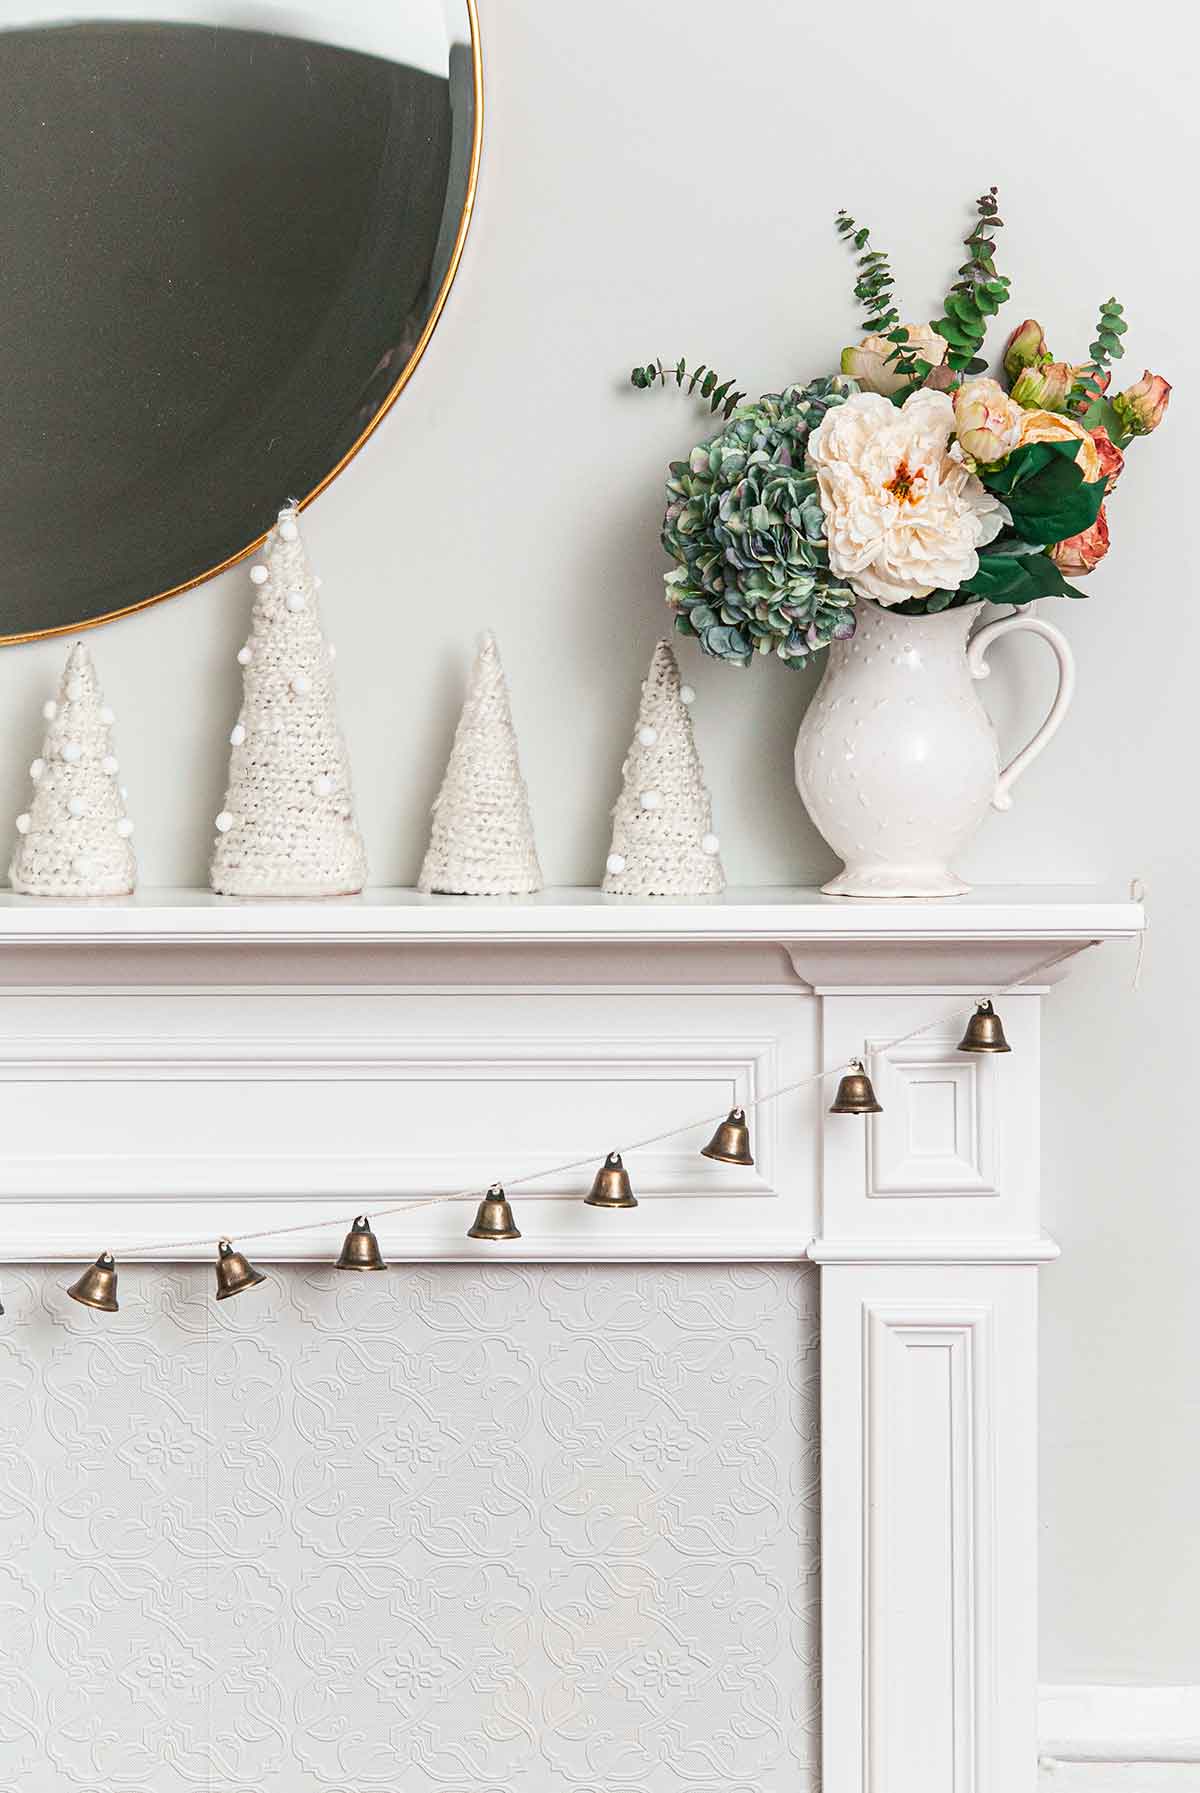
The mantle has made quite a difference to my living room! Sure wouldn’t be Christmas without a Christmas mantle!
For more inspiration, follow me on Instagram, on Pinterest, tiktok, and Facebook! And if you ever make any of my tasty drinks or treats, take a picture and tag me. I want to see!


Leave a Reply