This crockpot beef bone broth is a fantastic base for rich soup recipes or simply sipping for better health. It’s incredibly easy to make, and with this recipe, you’ll learn all the tips to make sure it’s made right. No weak flavors, no over or underdoing it and no impurities left behind. It can also be made in the Instant Pot!
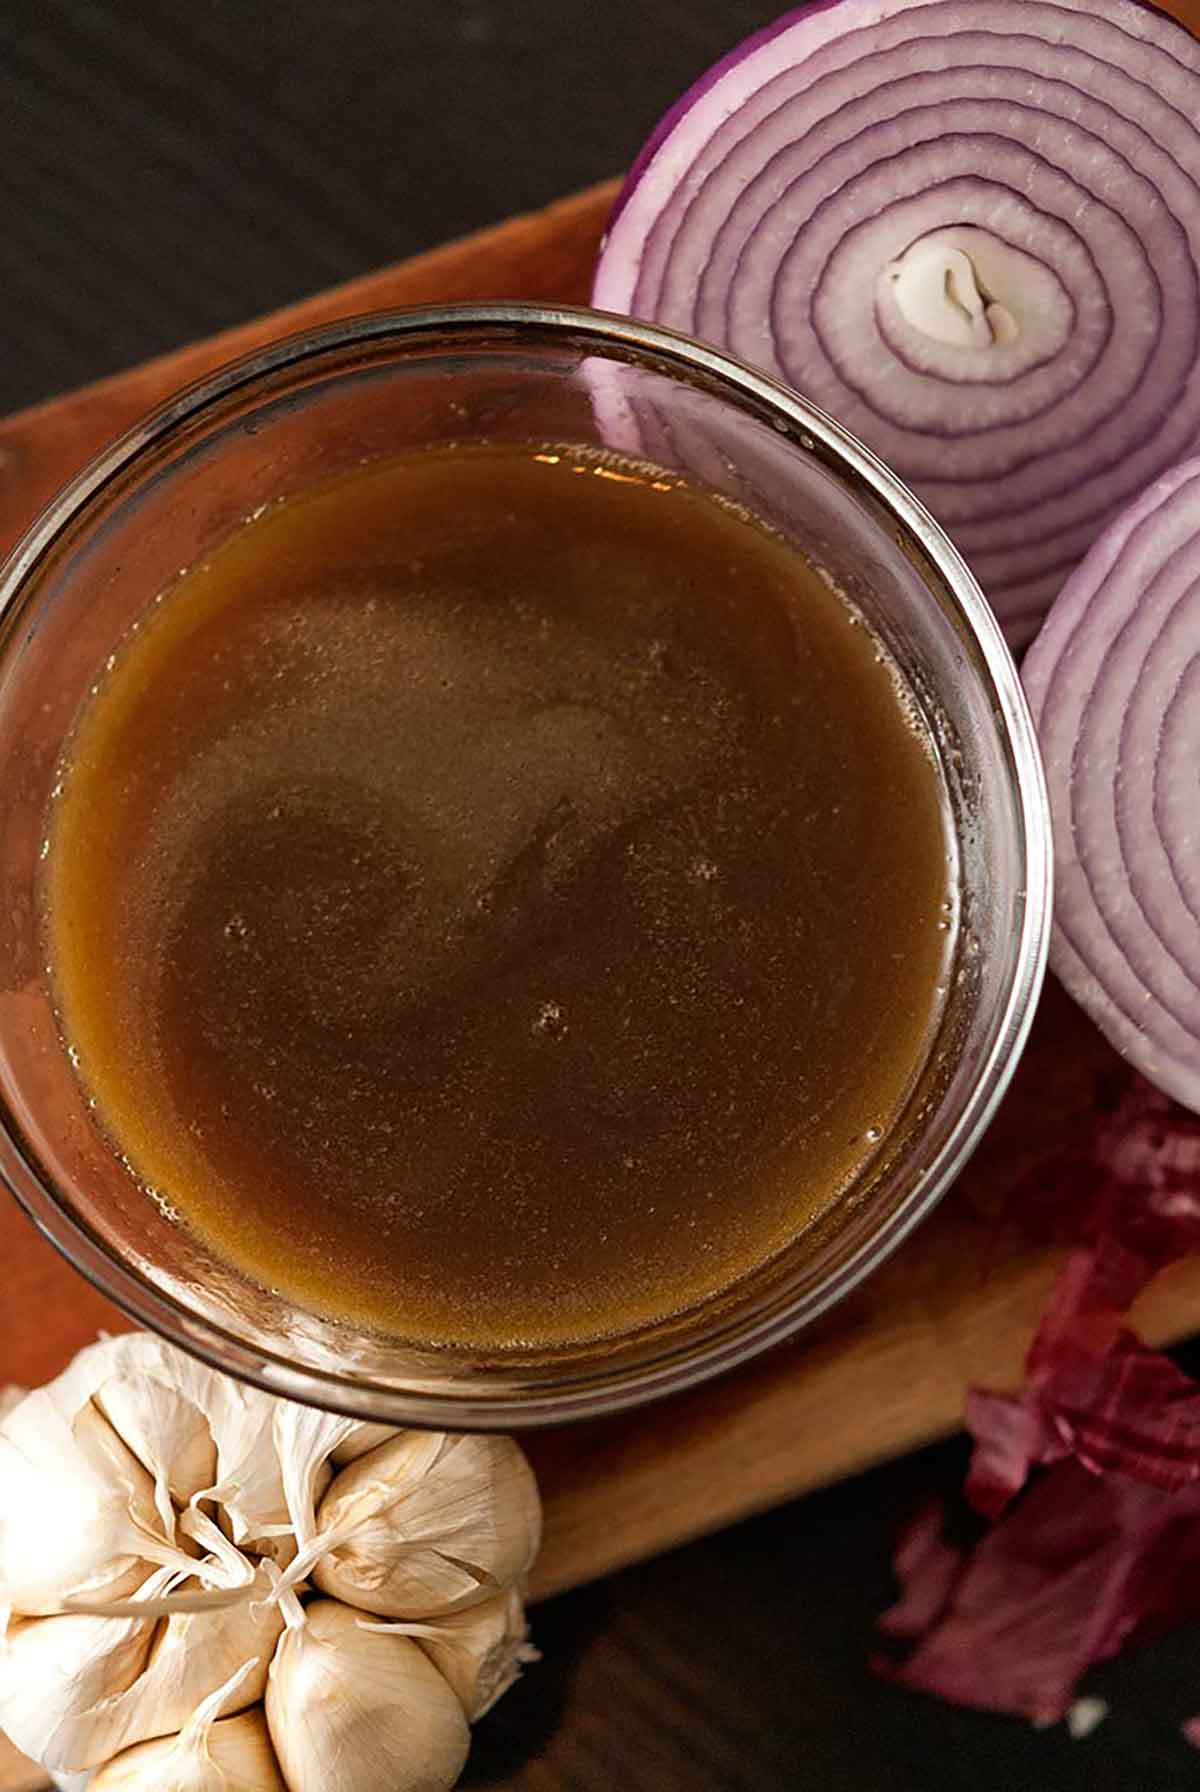
I use this broth in my richest recipes because it’s so flavorful and cozy. Perfect for Beef Bourguignon and French onion soup. It’s also perfect for sipping if you want to ward off a cold or improve your overall health. It just takes a bit of time, and it can be frozen for months so you’ll never waste a drop.
Recipe Notes
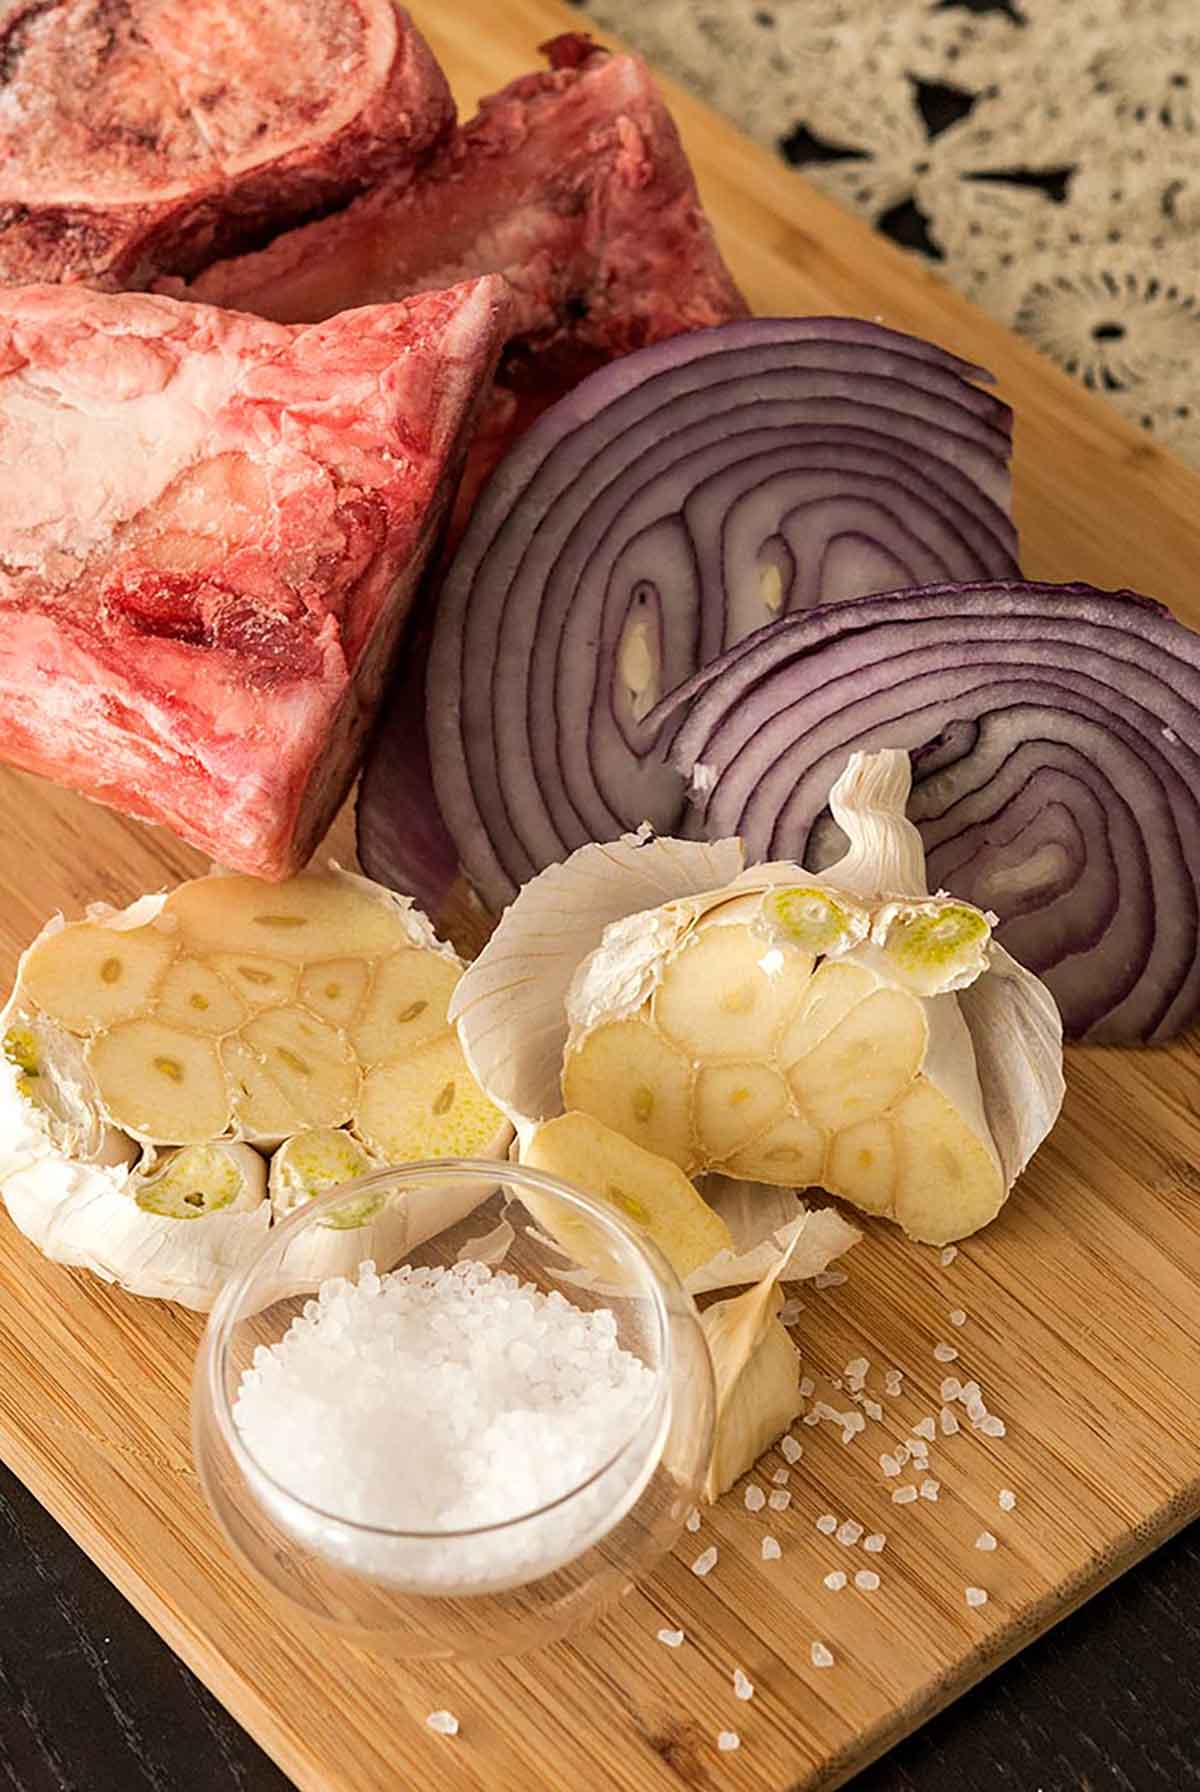
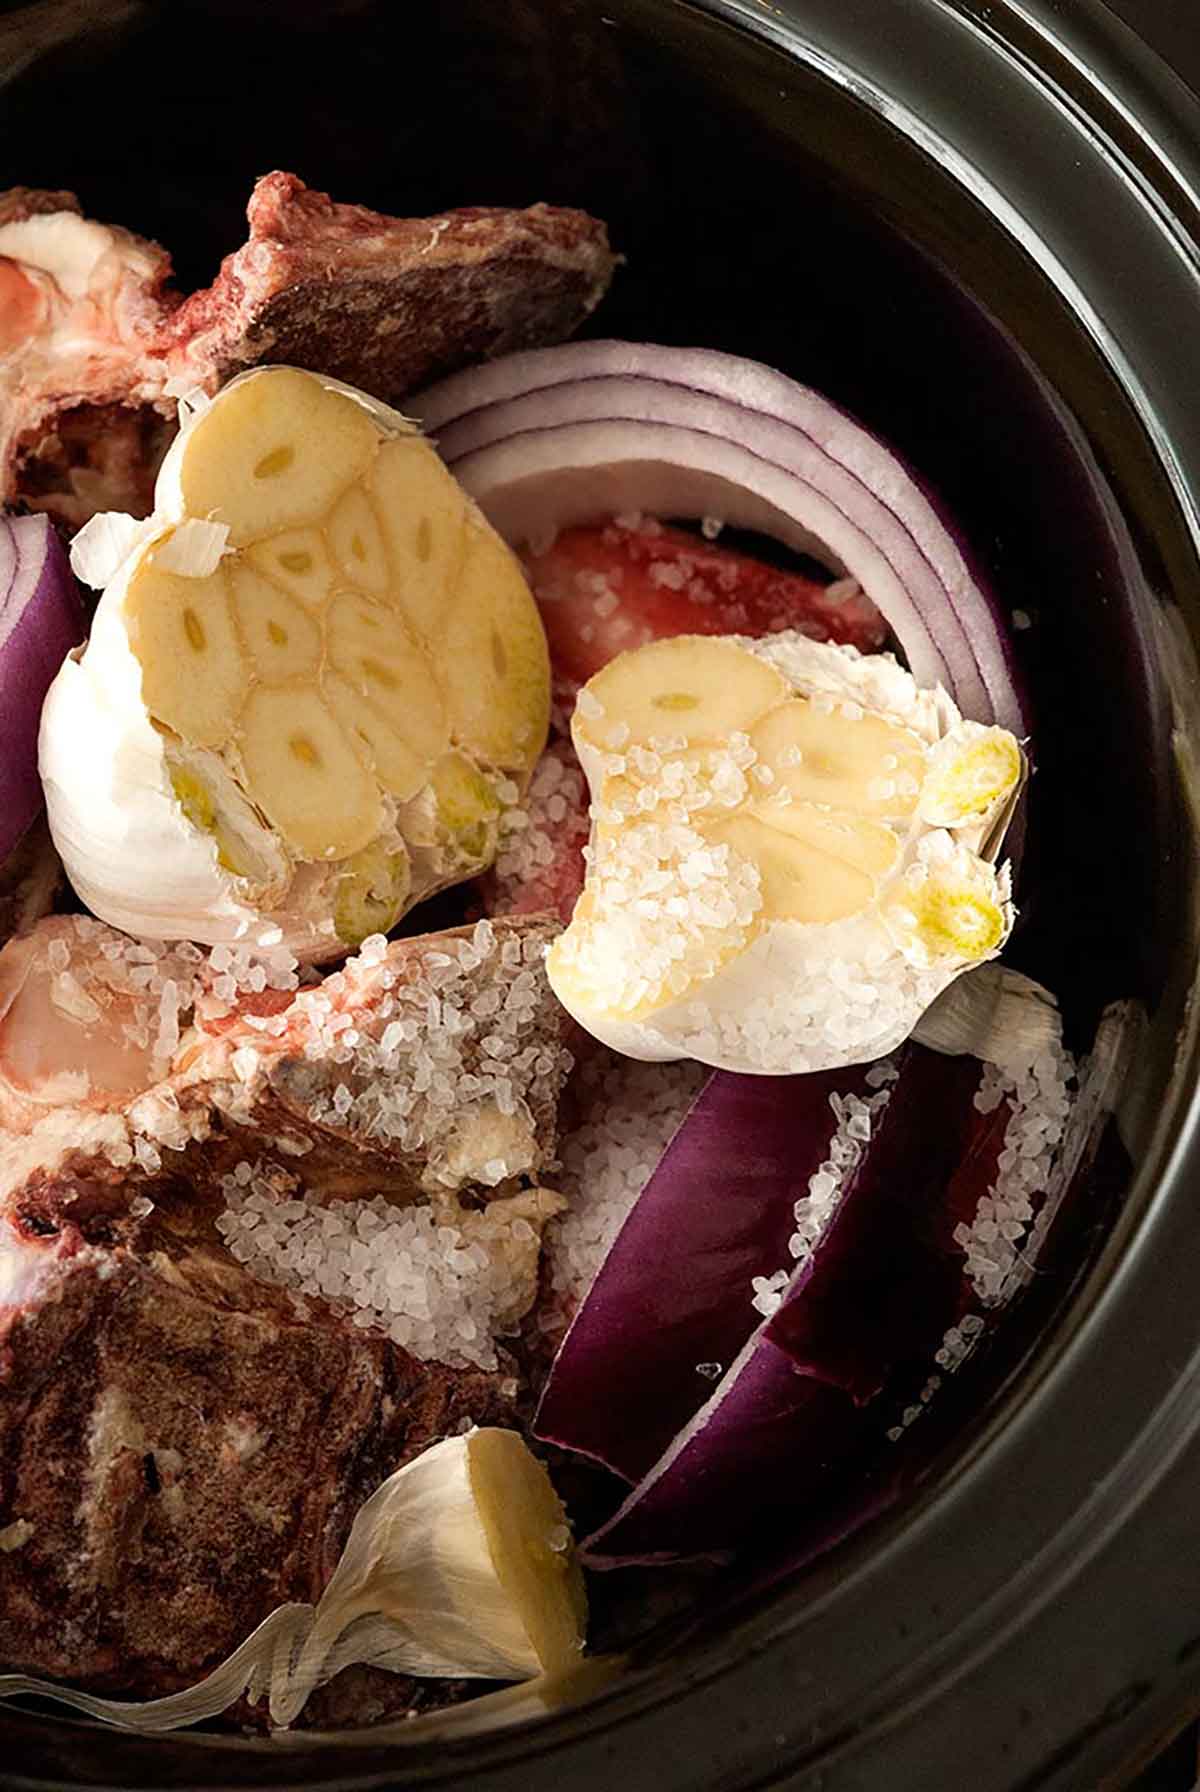
beef bones – You just need simple knuckle and neck bones. Don’t pick up expensive marrow bones. They don’t have as much collagen and that lovely marrow will just melt and mix with the other fats to be removed.
red onion – You can also use yellow onion, or none at all. If you don’t intend for the broth to be used on its own for sipping, you don’t have to add any extra flavors, and simply add them when it’s time to use the broth in a soup recipe.
garlic – Just like onion, you don’t necessarily have to add it to the broth unless you want to serve it on its own. But if you do want to add it, feel free to just wash the full head, slice it in half, and throw the whole thing in, papery outside and all.
sea salt – You can also use kosher salt.
apple cider vinegar – You can also use standard white or rice vinegar, but not balsamic.
water – Noth’n fancy.
How to Make Crockpot Bone Broth – Step by Step
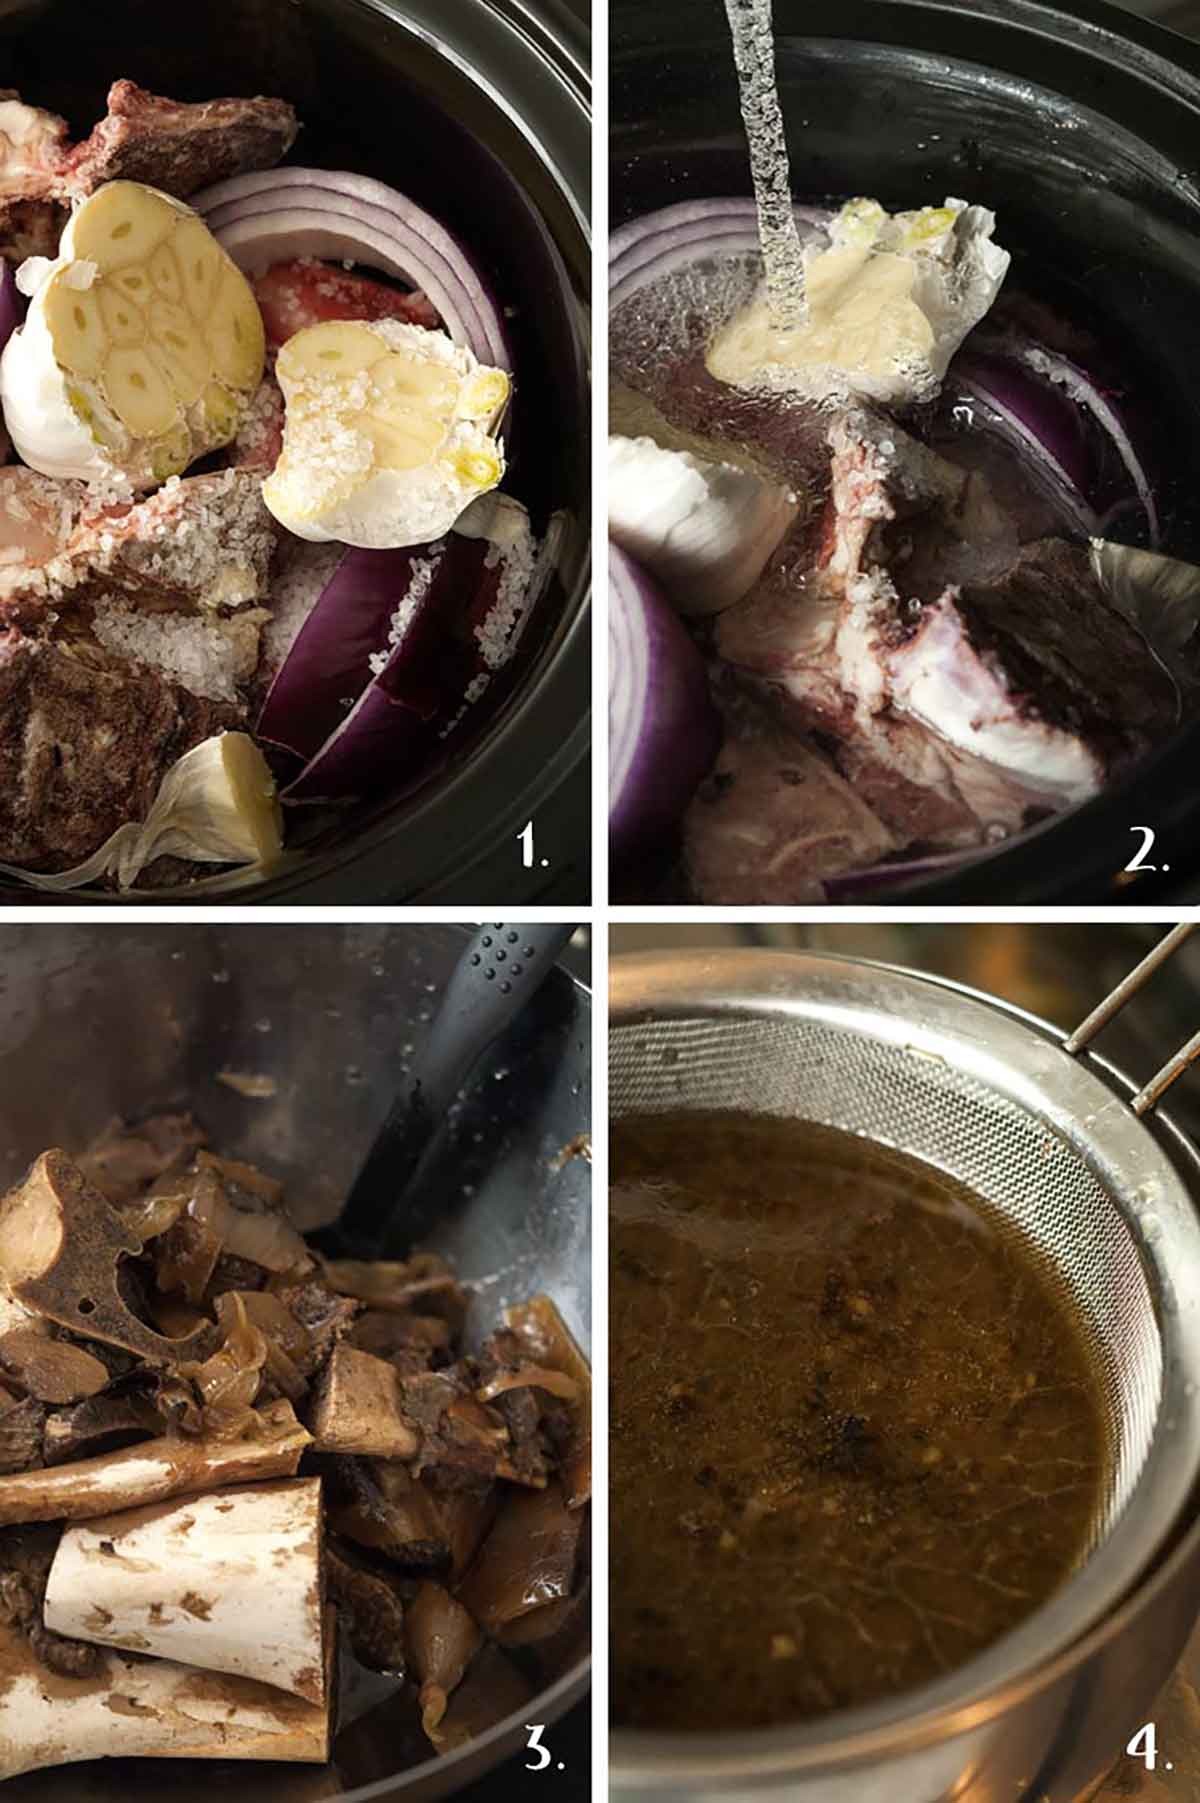
1. First, place 2 pounds of bones in a pot of water and boil them for 15 minutes to remove the impurities before placing them in your crockpot. Slice a small-medium-sized onion and head of garlic in half. Add boiled bones, chopped onion, chopped garlic, 1 tbsp. salt and 1 tbsp. of apple cider vinegar to a 4-quart crockpot.
2. Add 8 cups of water (or enough to cover the bones), but leave a little space at the top for your broth to simmer. You don’t want it to over-flow as it heats and bubbles a bit. Simmer on LOW for 48 hours. If you’re using an Instant Pot, set it to Slow Cook and MEDIUM for 48 hours.
NOTE: Check the water level after 24 hours. Depending on how much has steamed off, you may want to add another cup or 2 of water. Some crockpots have looser lids that allow too much liquid to evaporate. Add just enough to bring the water level back to where it was 24 hours ago if it’s evaporated below the bones.
3. When your broth is done simmering, remove the bones and boiled vegetables.
4. Strain the broth through a mesh strainer to remove any other bits left behind.
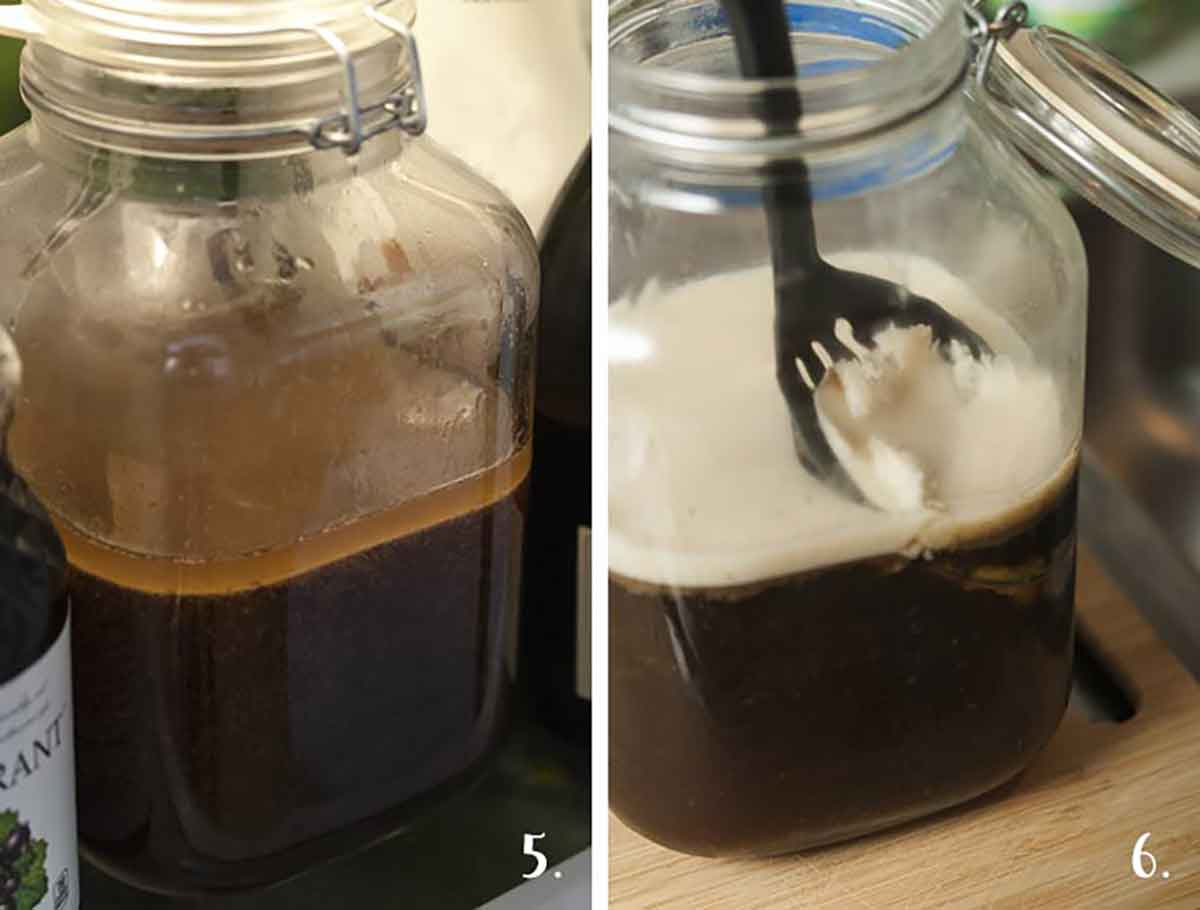
5. Place broth in a refrigerator to cool for at least 4 hours. The layer of fat will harden on the top.
6. After the fat has hardened, remove the layer with a spoon. You can discard the fat or use it to cook with.
Common Questions
You’re going to let it simmer for 2 whole days. Not 8 hours, not 24, but a full 48. You can technically make a broth in just 1 day, but if you came for easy and mediocre, you came to the wrong blog. Here at She Keeps a Lovely Home, we’re all about easy but fancy (and full of flavor!)
It’s SO much better when you let it simmer for 48 hours. It will be so much richer and more flavorful. You’ll also notice that your broth will “gel” when cooled which means you’ve pulled all that highly nutritious collagen out of the bones when you let it go for a full 2 days.
My broth would never gel when I skipped a day. No gel = mediocre broth. Less flavor, less nutritious, less fancy.
Unfortunately, that pressure cook function won’t speed up the process. It will just leave you with a flavorless broth if you try to cut down on time (in my experience).
You really need to let it take its time to get that rich, jiggly, collagen-rich consistency, so you’re going to do almost exactly as you would in your crockpot – allowing it to simmer for 48 hours, but you’re going to set the Instant Pot to “Slow Cook” on “Medium” not Low.
The medium setting on the instant pot is about the same as the low setting on most crockpots. Most Instant Pots can’t be set to slow cook for more than 24 hours though, so you’ll just have to reset it after 24 hours to go for another day.
This “bone broth” you’re going to make is actually “beef stock.” “Beef broth” is made with both meat and bones and simmered on high for a short amount of time. “Beef stock” is made with only bones and simmered for a long time. So, that “stock” you buy in boxes in the food store is actually mislabeled. It isn’t stock at all, but broth, because it’s often made with a mix of bones and meat, it’s thinner and not slowly simmered.
When the world of super-foodies realized just how healthy beef stock was – which again, by definition, is slow-cooked beef bones – they wanted to delineate between the standard, store-bought, intensely boiled, quickly made (and mislabeled) “stock” that you buy in stores.
So this bunch of folks essentially branded true “beef stock” as “bone broth” since it’s a term that was not commonly used for store-bought (mislabeled) beef “stock.” Quite confusing.
This recipe is not for over-salted, heat-blasted, preservative-filled beef stock, however. It’s for utterly nutritious, extra fancy (and technically mislabeled) “bone broth.”
If you want to remove impurities, yes. It’s also an essential step if you want to save the fat that rises to the top to cook with later. If you don’t boil the bones, the impurities rise and stay in the fat, making it not so “clean” to cook with.
It’s not 100% necessary, but it’s a great idea. Some chefs say the bones should be dark brown before going into the pot, but I find popping them in the oven for 40-45 minutes at 450 F. gives my broth a deep, rich flavor, and a deep, dark color.
Bone broth will only last nicely in the fridge for about 4-5 days, but you can freeze it in glass or Tupperware and it will be perfect for months!
A Few Tips
1. You don’t need expensive marrow bones.
Contrary to popular opinion, the best bones to use for beef broth are actually neck and knucklebones, not marrow bones. Marrow bones are mostly fat, and that fat simply rises to the top and is scooped off when the broth is done.
They’re also much more expensive compared to neck and knucklebones which are just as flavorful and provide that nice collagen thickness to your broth.
3. Don’t use a lot of “flavoring.”
It’s not necessary to throw lots of different kinds of vegetables and seasonings into the pot. You’re simply making broth. It’s flavorful enough as it is, and if you intend to make a soup with it, you can always add those ingredients at a later time.
It’s best to make as much room for bones and water in the pot as possible. A simple sliced onion and head of garlic, cut in half, is all you need to give it a little dimension – and make your kitchen smell delicious while it simmers.
You don’t even have to take the onion and garlic out of their skins, but just remember to wash them before you put them in the pot.
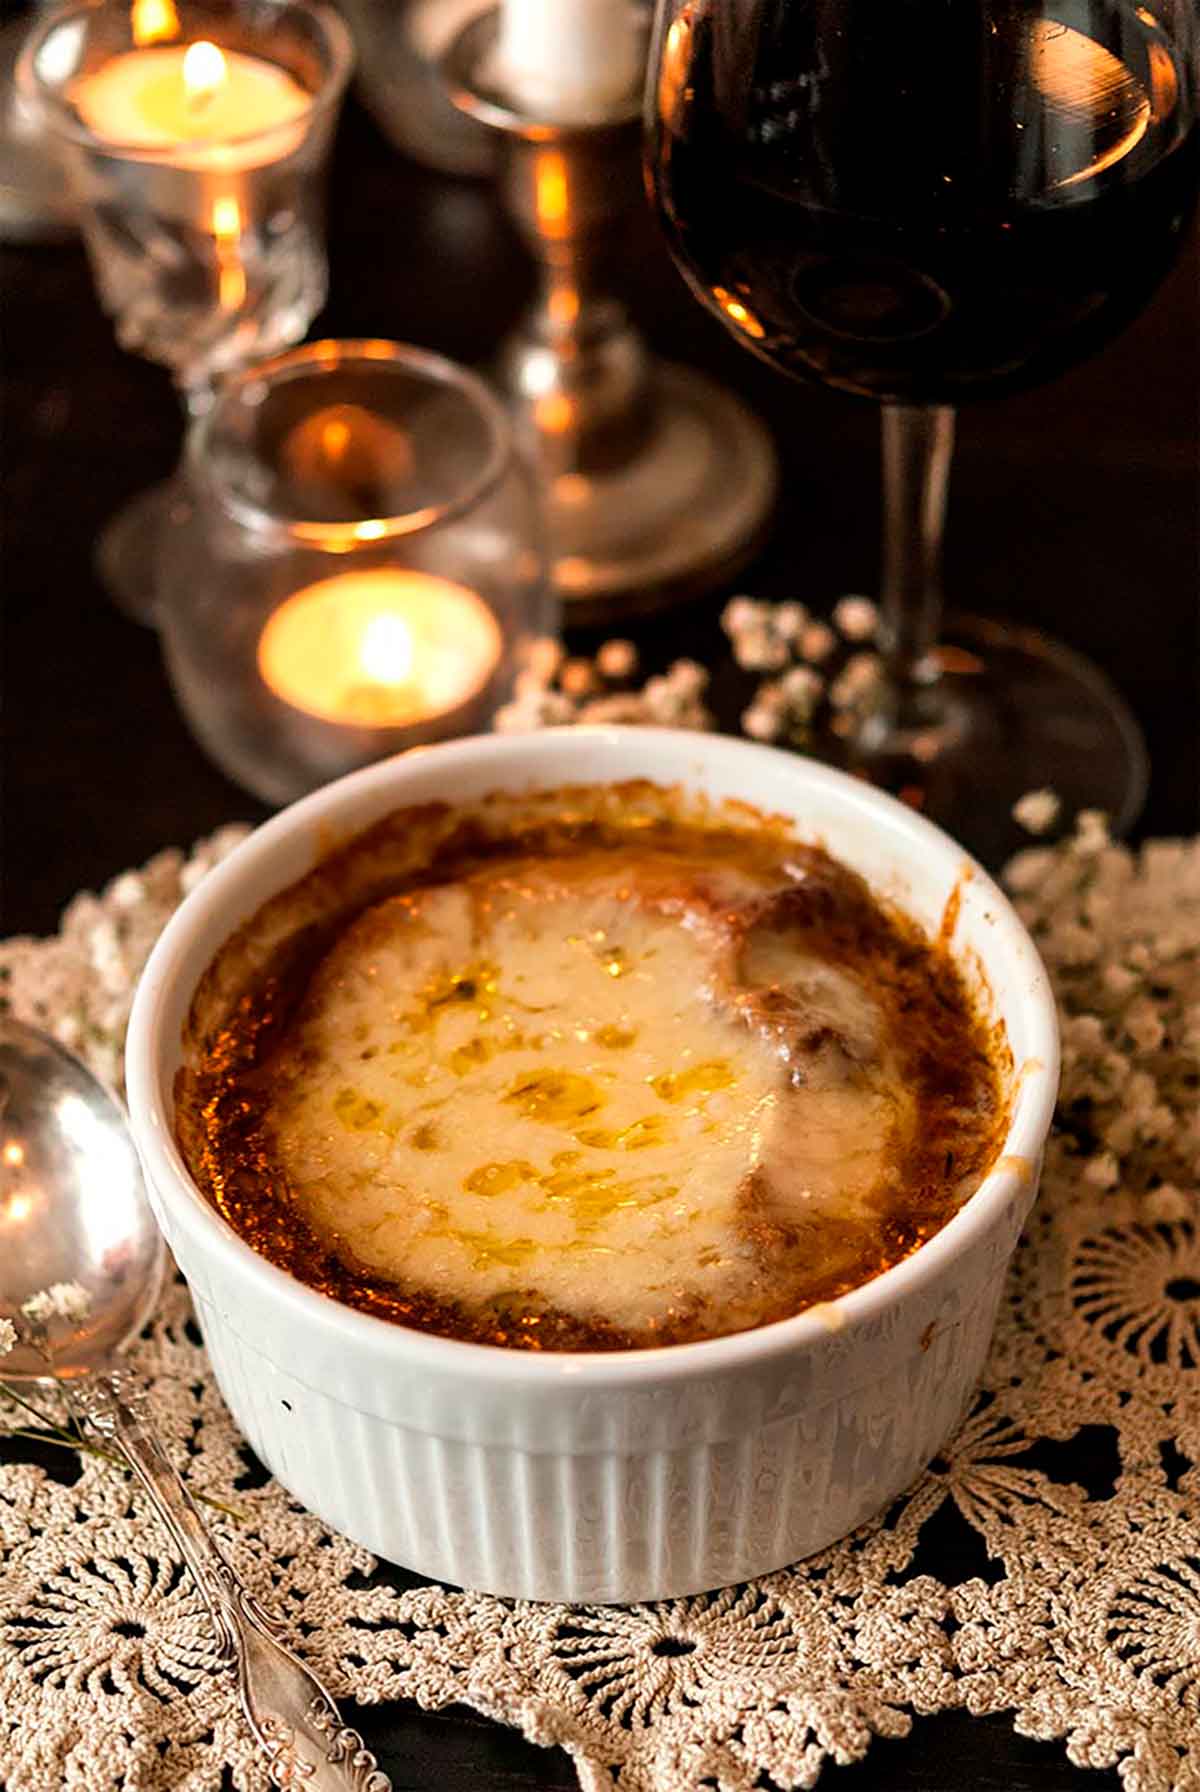
I use this bone broth to make this incredibly rich, irresistible French onion soup! Once the broth is done, it’s the EASIEST recipe!
Crockpot Bone Broth
Equipment
- 4 quart crockpot
- mesh strainer
- large glass container
- sharp knife and cutting board
Ingredients
- 2 pounds beef knuckle and/or neck bones
- 1 small-medium red onion – chopped in half
- 1 head garlic – chopped in half
- 1 tbsp. sea salt
- 1 tbsp. apple cider vinegar
- 2 quarts water – or enough to cover bones
Instructions
- First, place 2 pounds of bones in a pot of water and boil them for 15 minutes to remove the impurities. Then, bake bones on a foil-lined baking tray at 450 F. for 40-45 minutes.
- Once bones are baked, slice 1 small/medium-sized onion and 1 head of garlic in half. Add bones, chopped onion, chopped garlic, 1 tbsp. salt and 1 tbsp. of apple cider vinegar to a 4 quart crock pot.
- Add enough water to cover the bones, but leave a little space at the top for your broth to simmer. You don’t want it to over-flow as it heats and bubbles a bit. Simmer on LOW for 48 hours (If using the Instant Pot, set to Slow Cook and set to MEDIUM for 48 hours).
- NOTE: Check the water level after 24 hours. Depending on how much has steamed off, you may want to add another cup or 2 of water. Some crockpots have loser lids that allow too much liquid to evaporate. Add just enough to bring the water level back to where it was 24 hours ago if it's evaoprated below the bones.
- When your broth is done simmering, remove the bones and boiled vegetables.
- Strain the broth through a mesh strainer to remove any other bits left behind.
- Place broth in a refrigerator to cool for at least 4-5 hours. The layer of fat will harden on the top.
- After the fat has hardened, remove the layer with a spoon. Either discard the fat, or use it to cook with later, as long as you made sure to follow step 1 and purified the bones first.




Wendy Huban
OK made the broth a few weekends ago. Rich beautiful dark color. Froze it and used it today to make low carb Beef “Barley” Soup. AMAZING! This broth is so easy to assemble and forget about it for 48 hours. Used a rotisserie chicken last week for chicken salad and did the same with the chicken carcass. AMAZING agian! I will never make homemade. broth on the stove top again.
Genevieve Morrison
Yay! Thank you, Wendy!
Kristin
Thank you for all this info. I’m making beef bone broth for the first time. A lot of people talk about doing a second simmer. Using all your same steps, strain broth after 24-48 hours, then use same bones and do another batch. What do you think about that?
Genevieve Morrison
Great question! I’ve actually done that, but I find the second simmer is never as full bodied or flavorful as the first, so I actually don’t save the bones for another go. I think it’s because I do such a long simmer (48 hours) to get as much zing out of them first time around.
Deb
Don’t discard the fat!!!!! That is awesome tallow you can use in your cooking and baking. Beef tallow is loaded with healthy nutrients.
Genevieve Morrison
That’s true. I usually save a little to fry potatoes and other vegetables. But if the first step to purify the bones isn’t done, all of the impurities stay in the fat, making it not so “clean” to cook with, but I didn’t make that clear. I’ll clarify in the directions. Thanks so much for the note!
Angel
Why not balsamic vinegar?
Genevieve Morrison
I’m not exactly sure how different vinegars effect the drawing out of minerals in the bones, but apple cider vinegar and white vinegar have a more mild flavor than balsamic, which would likely give a noticeable balsamic flavor to your broth.
Angel Geraghty
Thank you for your response. I currently have bone bone broth going, it’s now going on about 19 hours, I have used about 4-5 TBSP dried garlic, 3 small onions, 1 large thick carrots (large chunks), 1 tbsp smoked salt, 1 tsp balsamic vinegar and maybe 1 tbsp red wine vinegar, and I must say the smell that is running through my house, even last night as we slept is to die for!! Smells almost like a bbq’d steak brazed with an amazing bbq sauce. I know it won’t gel as I used marrow bones (but my butcher is going to collect some neck bones and knuckle bones for me) and I will try again later with that but I really think it’s going to turn out very well none the less. Thanks for the amazing idea.
Genevieve Morrison
I bet it smells amazing. After about 24 hours, just check to see how much water has evaporated under the lid. If at least a cup has dissolved, add a cup more. I’m noticing that some folk’s crockpots let off more steam than mine. 😉
Tracy
I’ve made bone broth now twice. Once with a pork bone from a roast we had and the second time from soup bones I got from the butcher. Both times for 48 hours and when they cooled over night, I got the fat on top but the broth didn’t turn to a jelly consistency. It was just liquid. Do I still have a good broth? Am I using the wrong bones?
Genevieve Morrison
If it wasn’t turning to jelly, it’s possible that you didn’t have enough bones. However, there have been times when I’ve made bone broth and mine didn’t turn to jelly either, but it was perfectly good. I believe different bones simply have different amounts of collagen, depending on the animal it came from. For me, it’s a matter of color. Was the color almost clear? If so, then it’s likely you simply didn’t have enough bones. I really pack them into the pot, and cover them with water that only just covers them. If you had some richness to the color, I’m sure your broth is perfectly fine.
Joyce Kruger
Is it safe to leave overnight on low in the crock pot I never had a crock pot left on for 2 days is it safe to leave that on your counter going on low
Genevieve Morrison
Well, crockpots were made to stay on for long periods of time. Some have an automatic 20-24 hour shut-off setting, but I don’t believe it’s because allowing it to go longer is “unsafe.” You can certainly allow a crockpot to go overnight on low, safely. I’ve done it myself many times.
Lisa J Brown
I’m planning to make in slow cooker, aka crock pot, not instant pot. Will i use low setting on crock pot , 1970s era?
Genevieve Morrison
To be honest, I haven’t used a crock pot from the 70s, so I’m not exactly sure if it would work the same. But if you’ve followed other recipes before that called for the low setting, and it worked for other recipes, then it should probably work just as well for this one.
Kerstin
Can you add water after Day 1? I simmered on low for 48 hours and was left with 6 cups of broth.
Genevieve Morrison
You can, but I wouldn’t add any more than 1 cup, and definitely let it keep simmering for another 24 hours after that 🙂
Mihaela
Thank you so much for all the great info on how to make a good bone broth!
My question is, what setting should I use for my instant pot if I it only has low and high?
Thank you for your response. I really appreciate it! 🙏🏼
Genevieve Morrison
Goodness, I don’t actually know. Perhaps your Low setting is close in temperature to what a low setting on a crock-pot would be. I would say to use Low, but that’s just a guess.
Patty
Do I need to boil the bones first?
Genevieve Morrison
Hi Patty! Boiling them first removes impurities, so I would suggest it. It results in a “cleaner” broth.
Natalie
Do you leave the vent on the instant pot to Seal or Vent?
Sierra
If you were to brown the bones first, would that be before or after you boil bones for 15 minutes? Giving this recipe a try!
Genevieve Morrison
You’ll want to brown the bones after boiling 😉
Eryn
Can I make this in a slow cooker? If so, would it be 48 hours on low? Thank you!
Genevieve Morrison
Do you mean an Instant pot? If so, you’re going to set the Instant Pot to “Slow Cook” on “Medium” not low. And I believe Instant Pots only “slow cook” for 24 hours, so you’ll just have to re-set it after that amount of time.